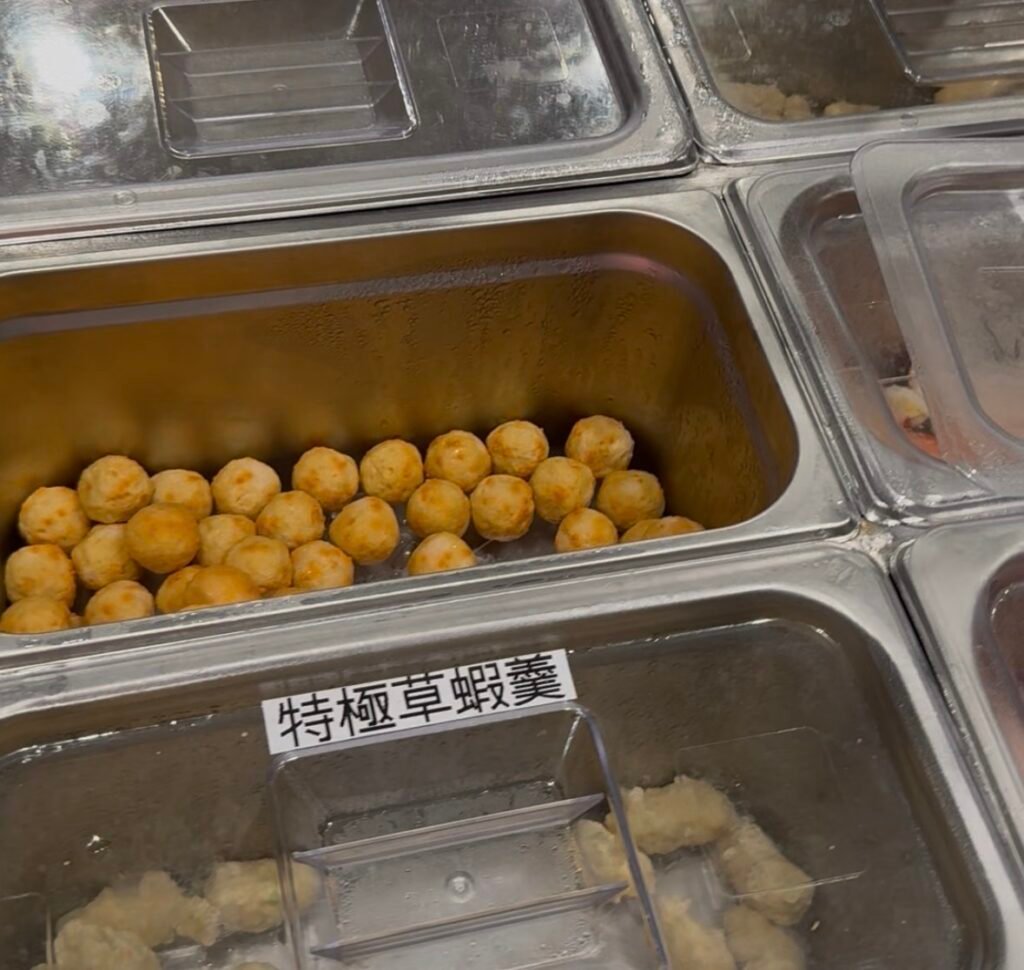
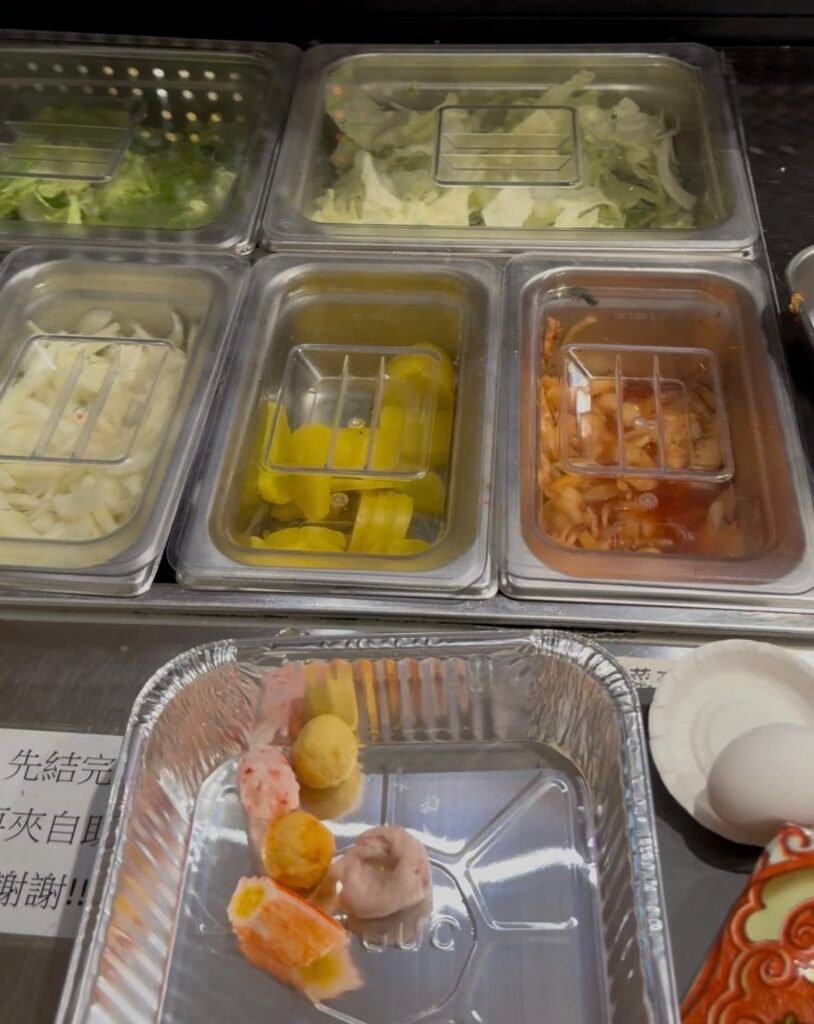
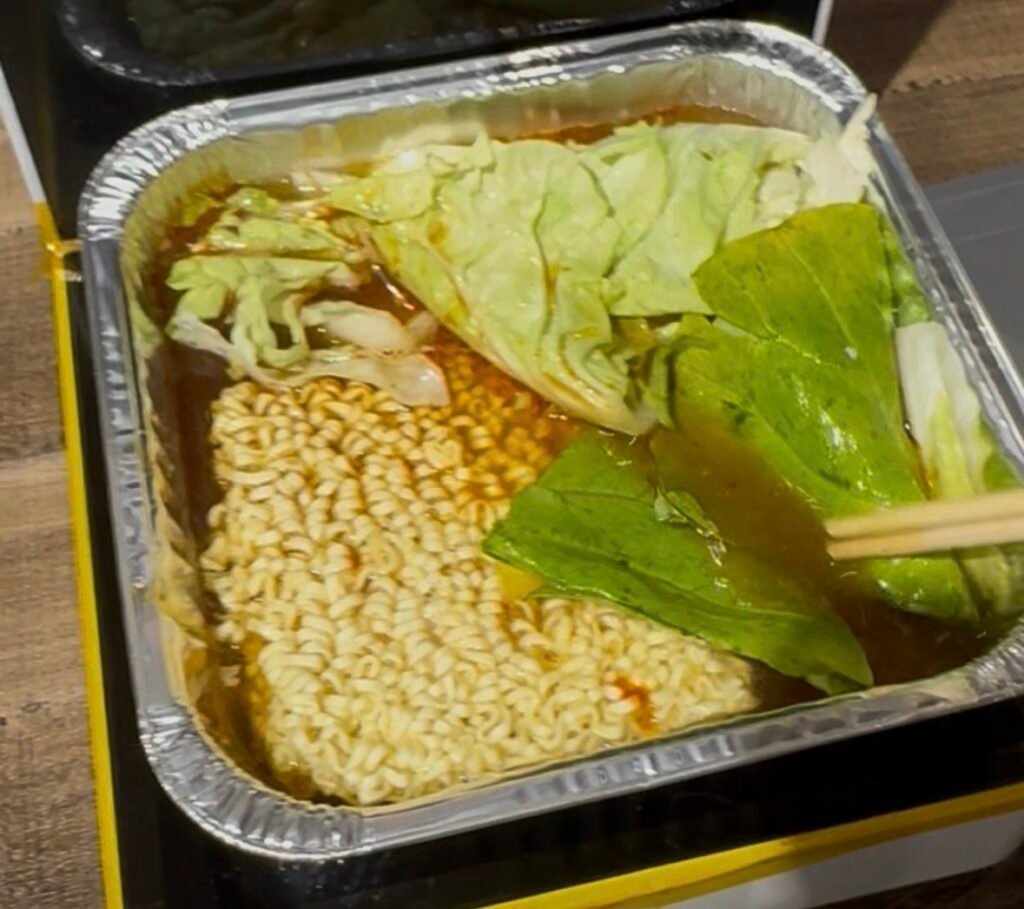
They have shelves of ramen that you choose a packChoose your protein add-inThen you pay. And go back for the veggies which are included. Add waterLet it cookThen you eat
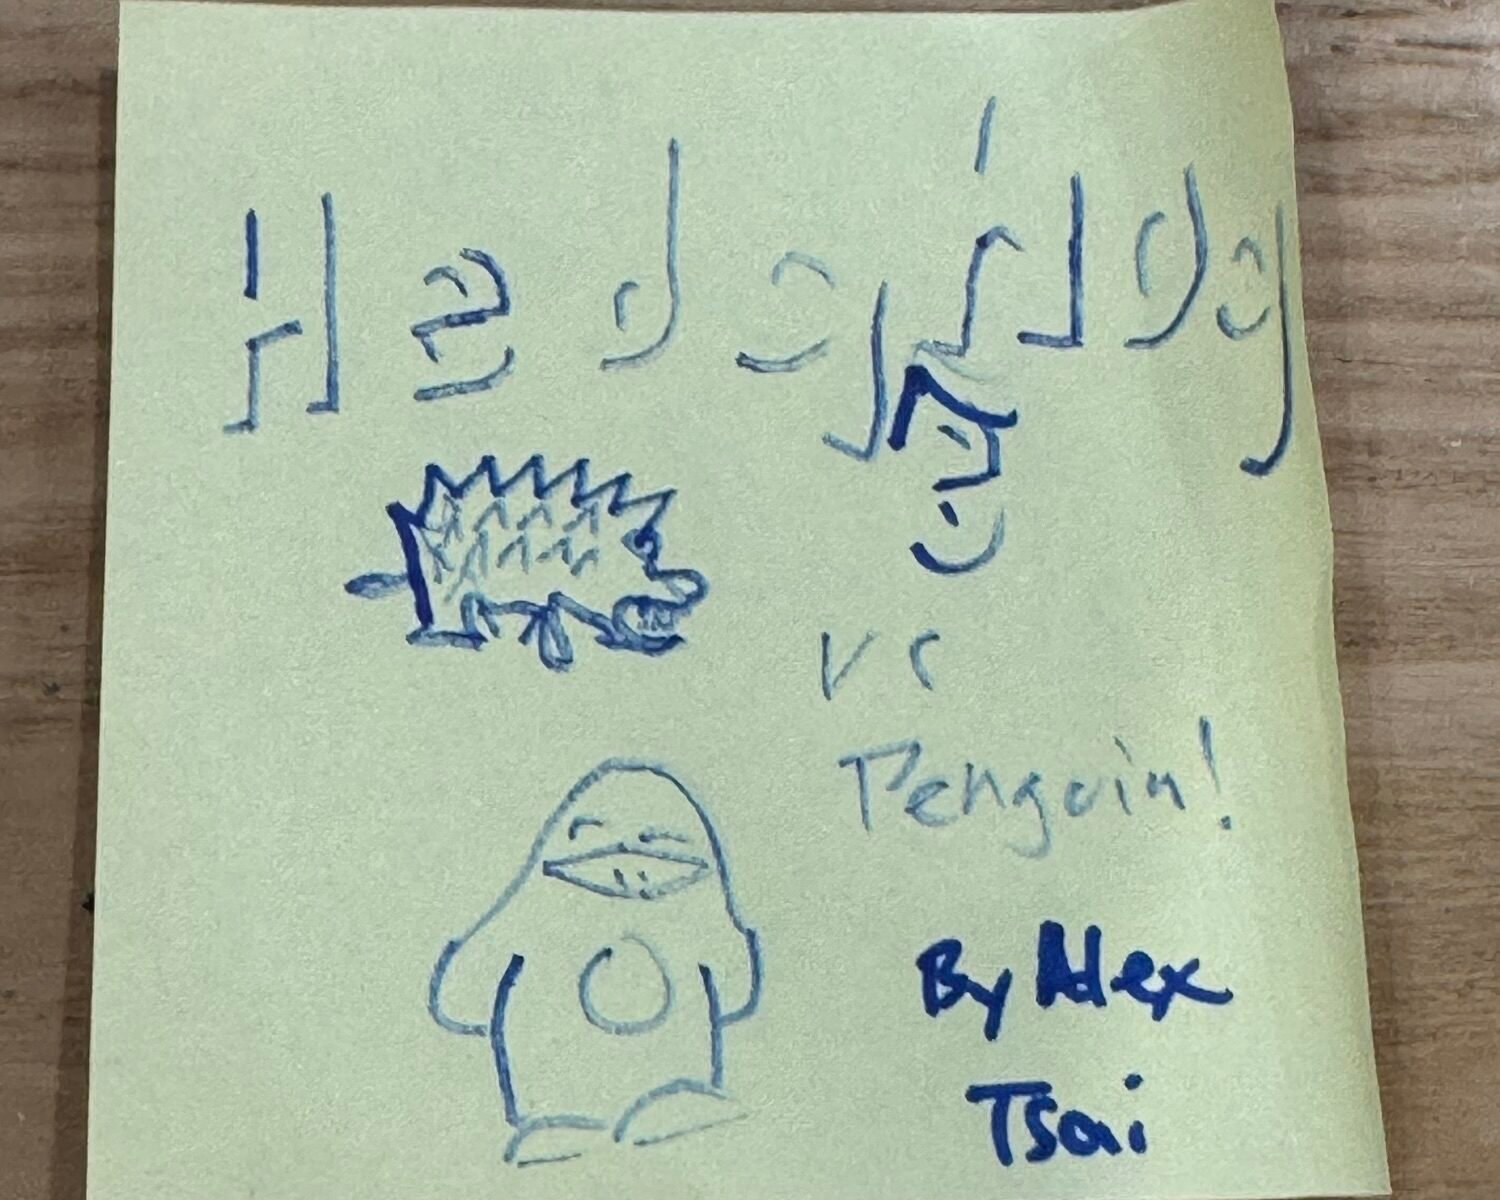
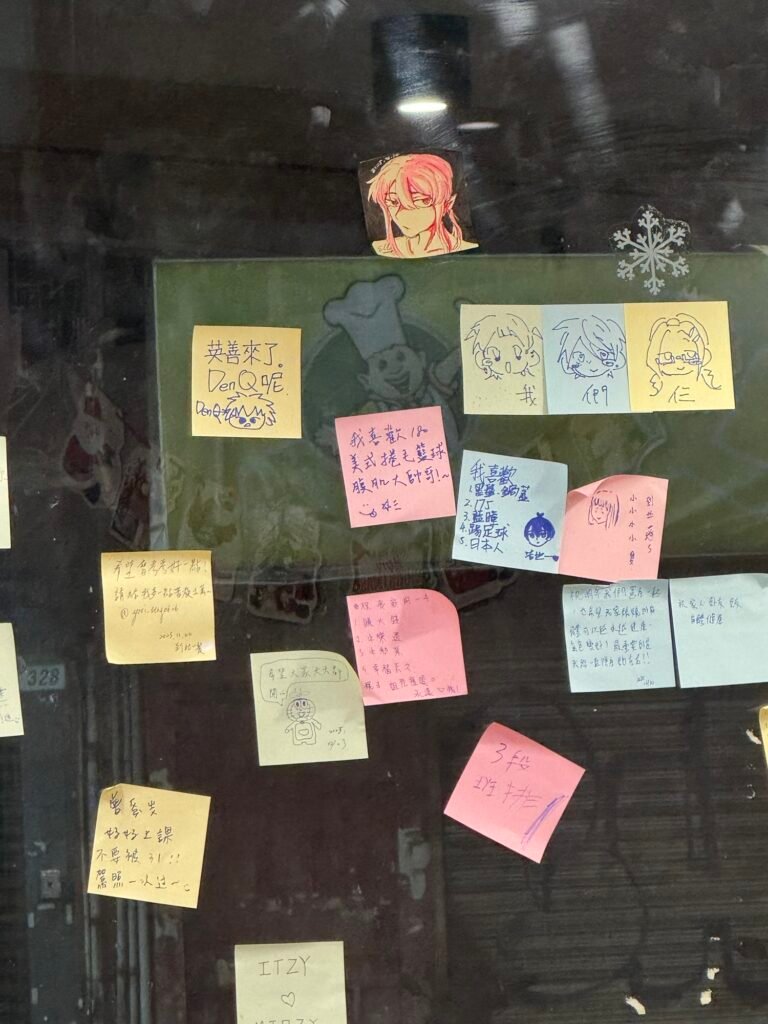
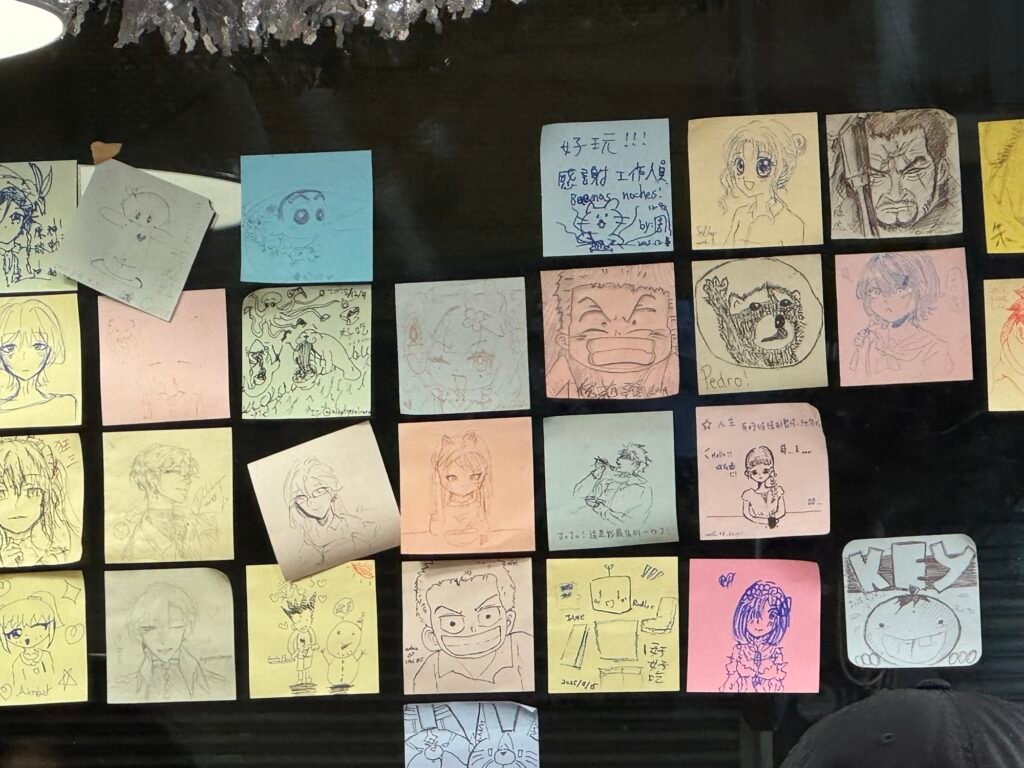
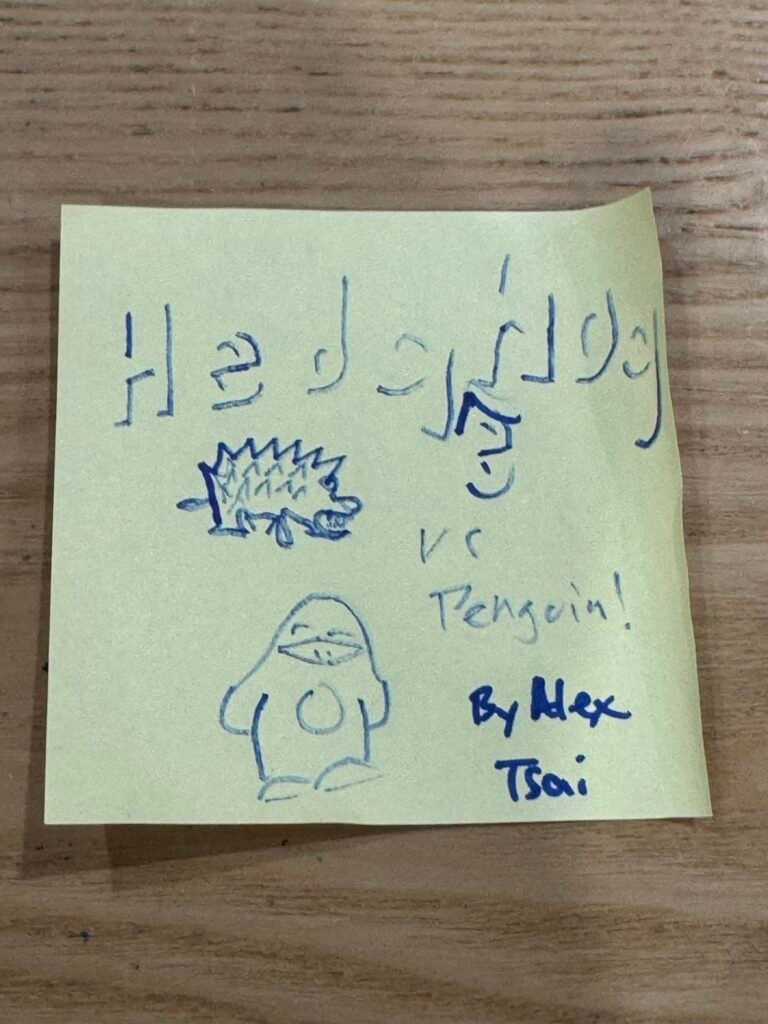
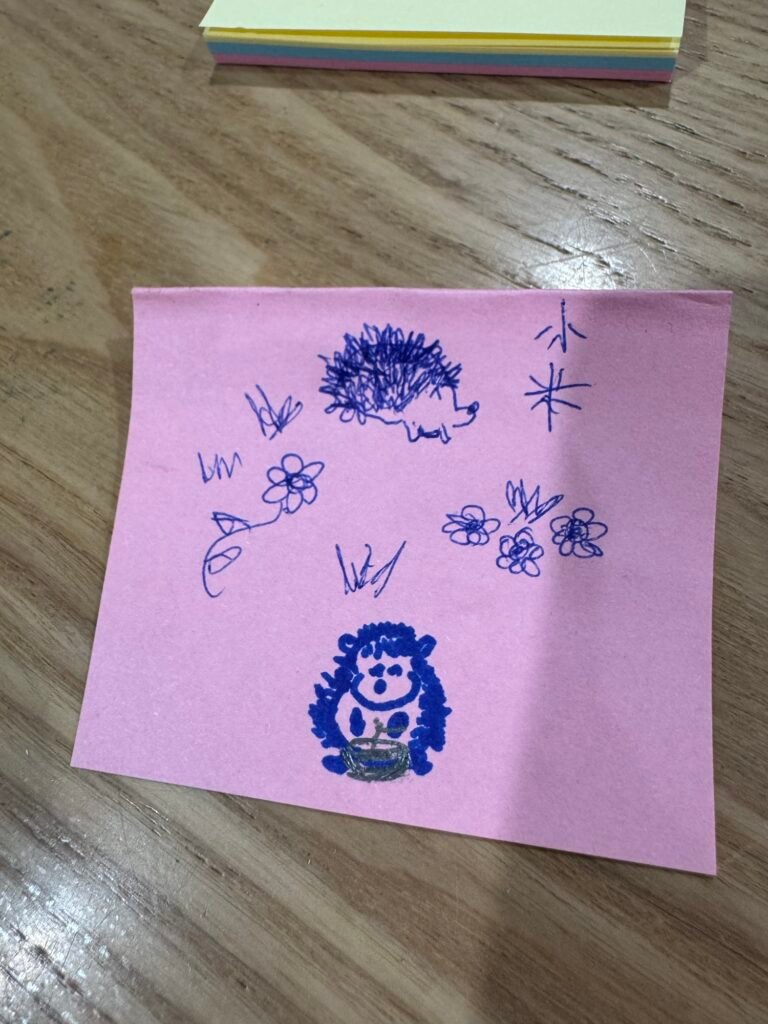
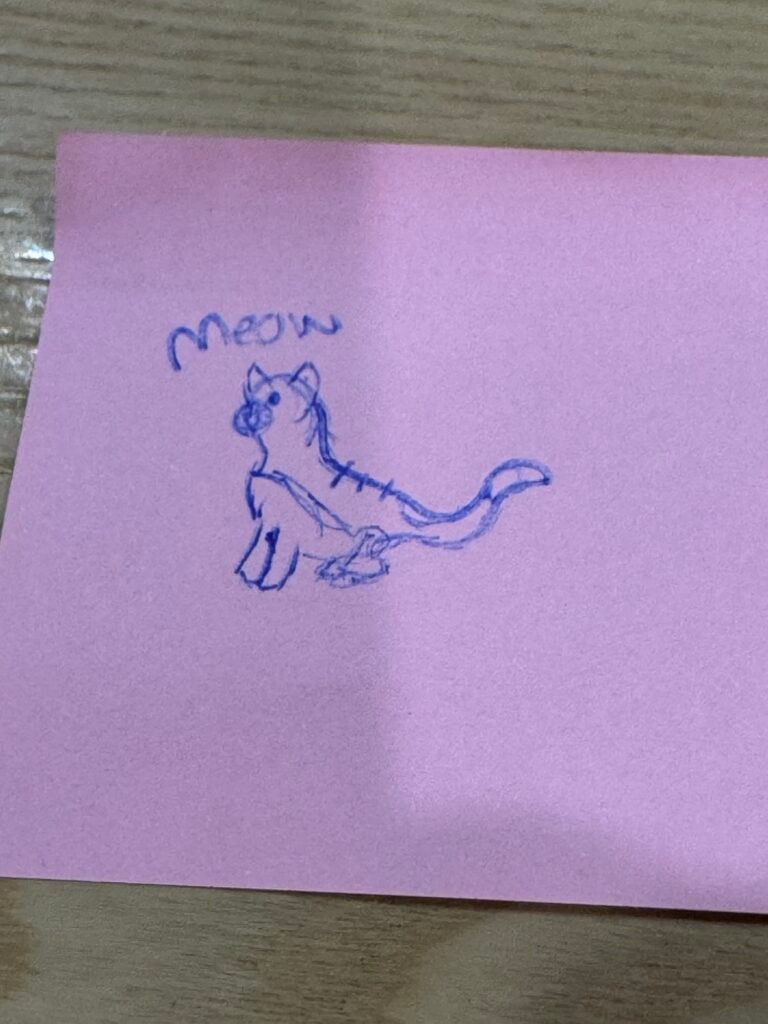
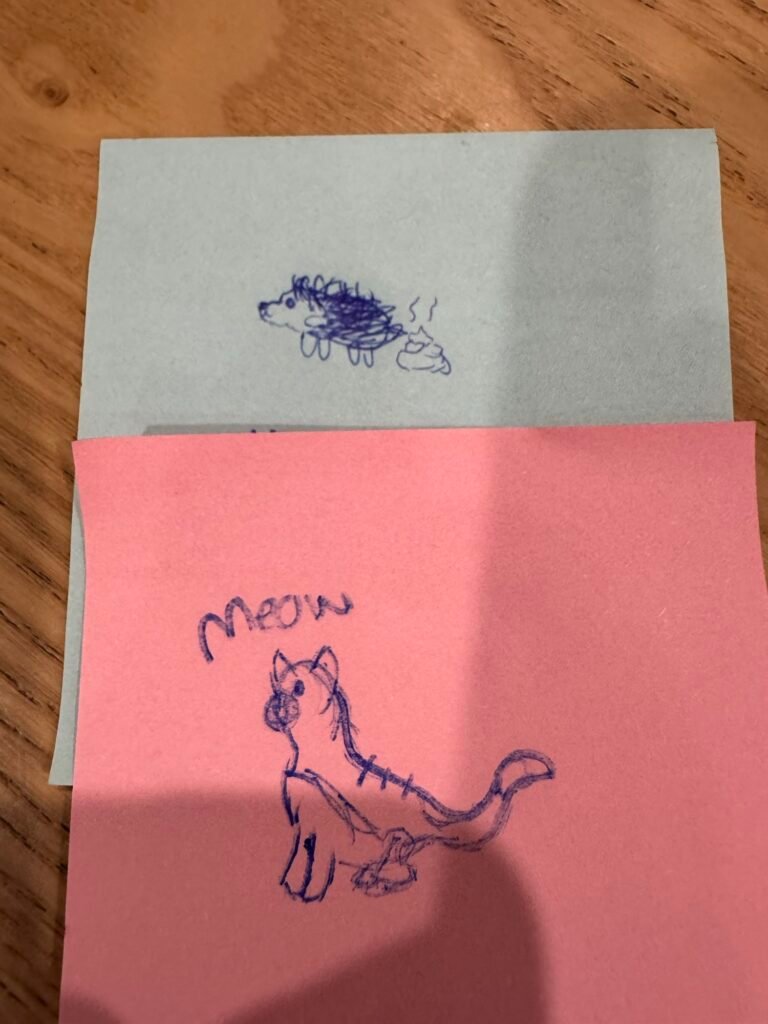
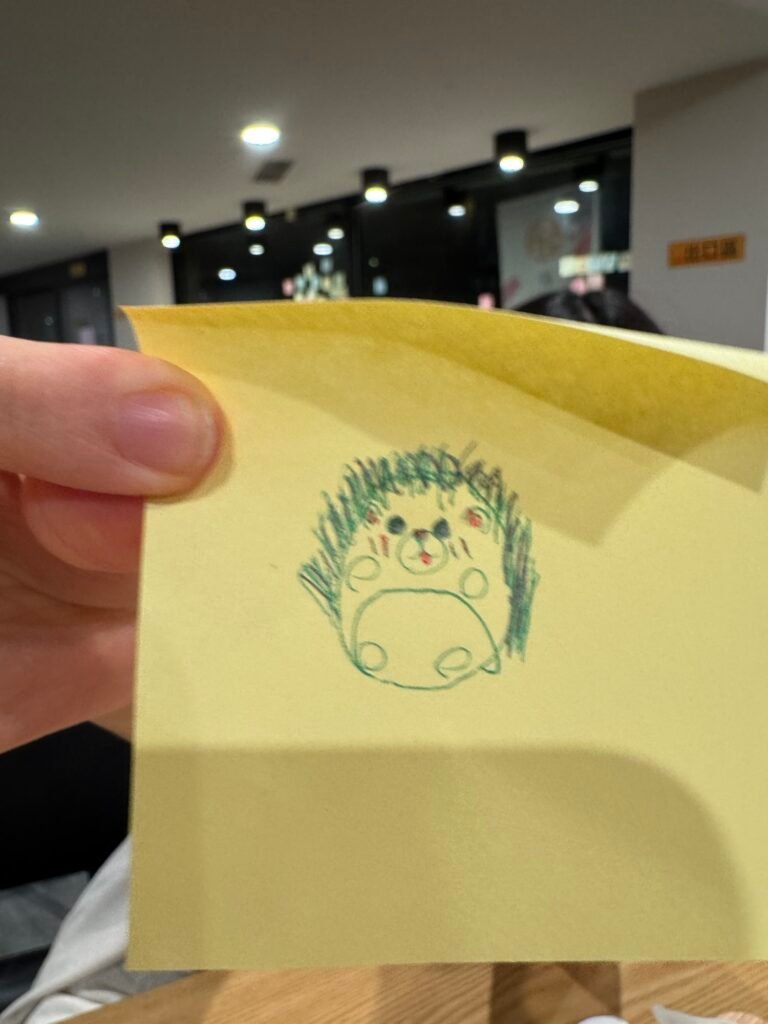
Some places around Taipei leave sticky notes and pens for people to draw and leave notes behind.
Some of the drawings other people have madeSome people are pretty good at drawing.Guess who made this one. MommyJujuJujuJujuViviWho’s drawing is better?
Well we just felt that earthquake. 5.4 mag. Video doesn’t really show much though.
You can see the lights moving. It was definitely more notable than the videos lets on.
1030 am. Late start. I guess I may have acclimated to the time change just as we will head back soon.
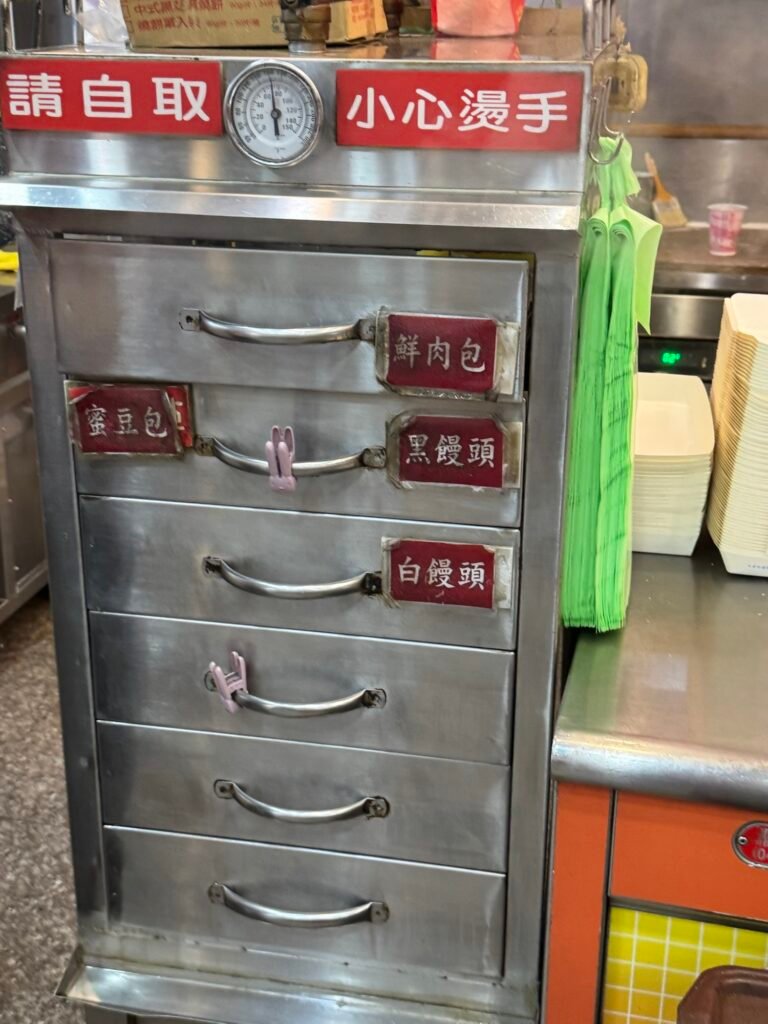
Foraging for more local breakfast food.
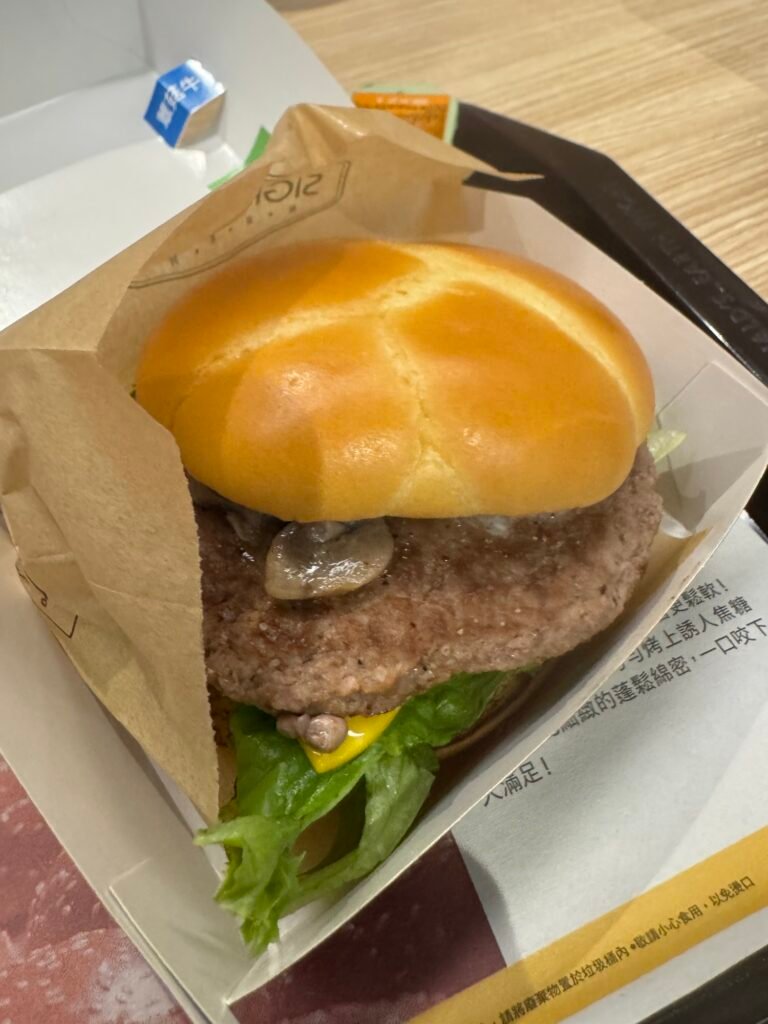
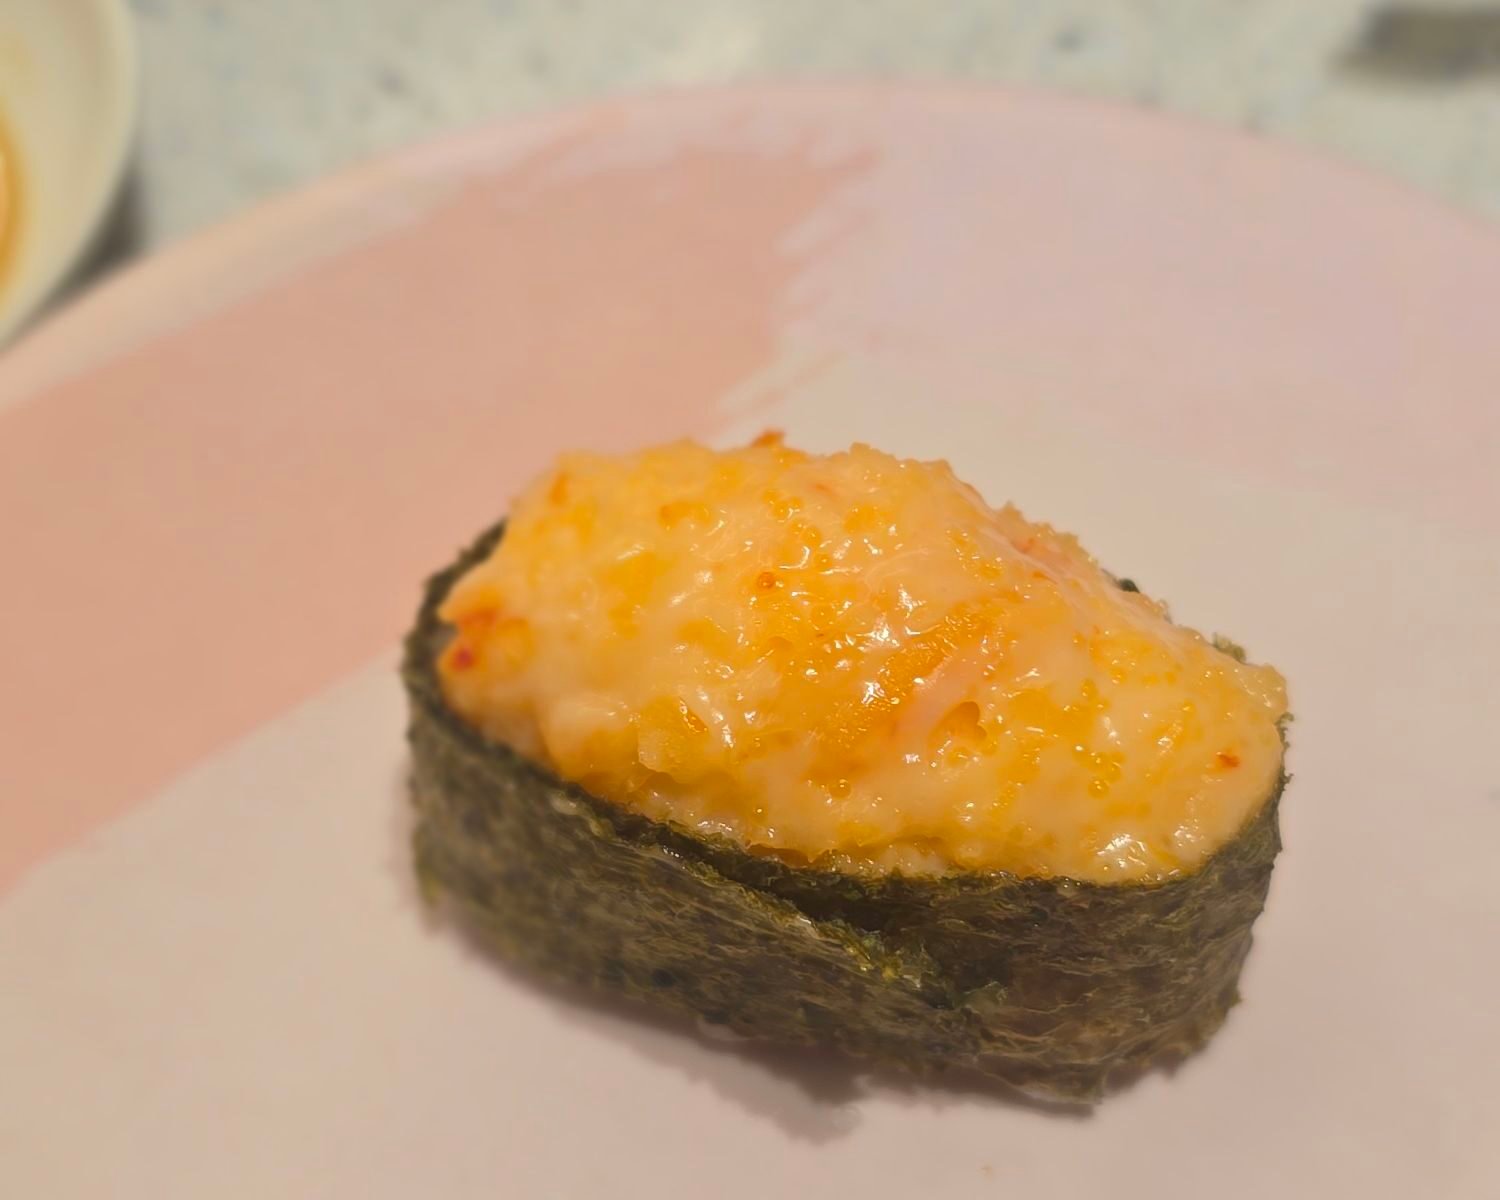
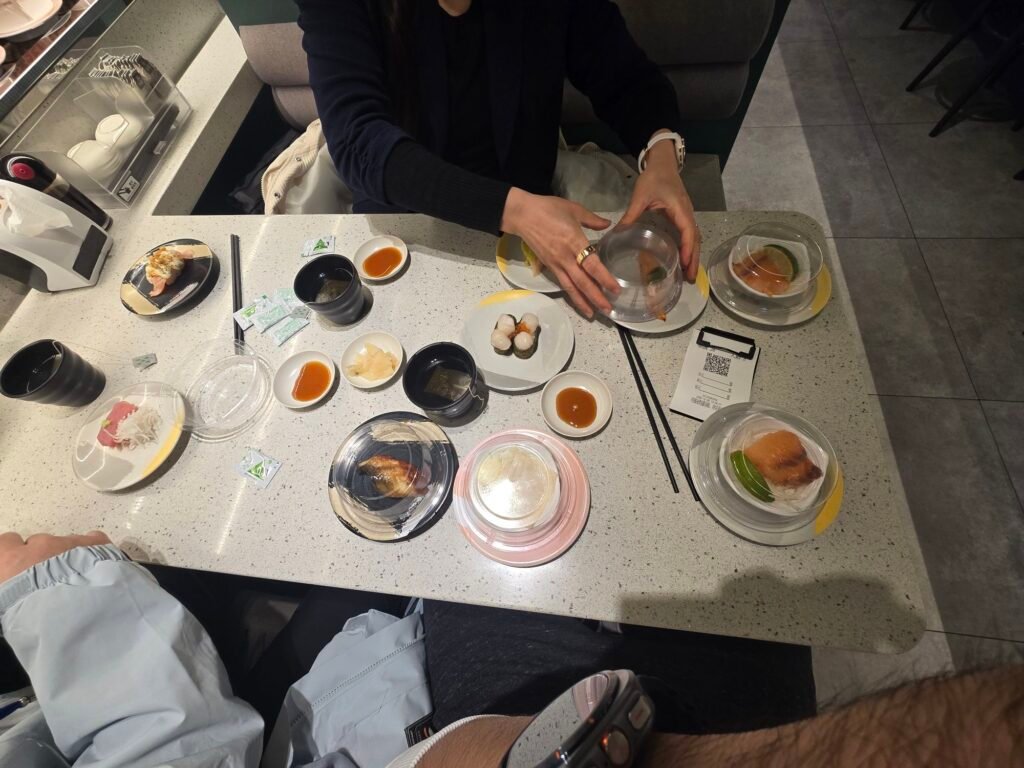
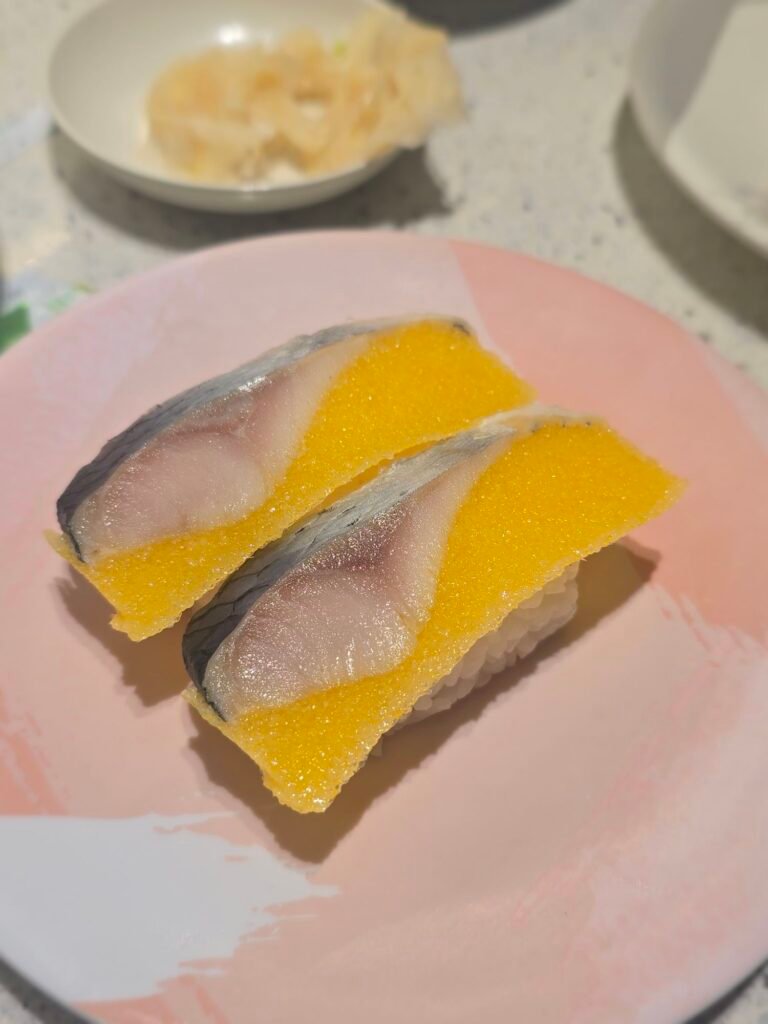
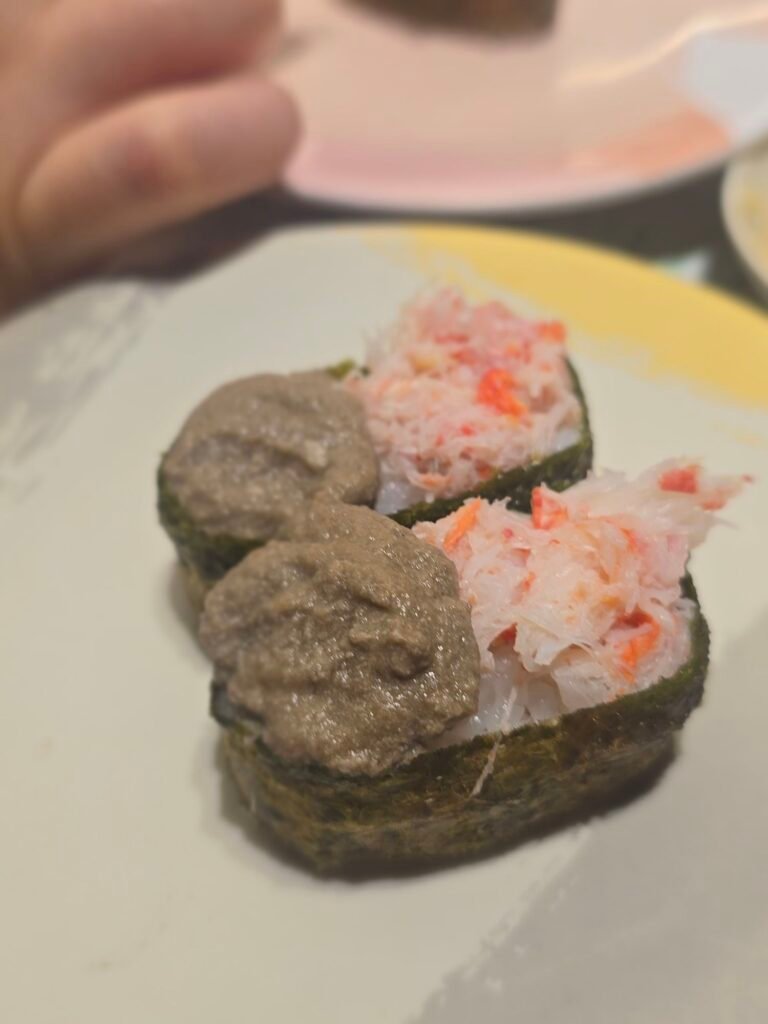
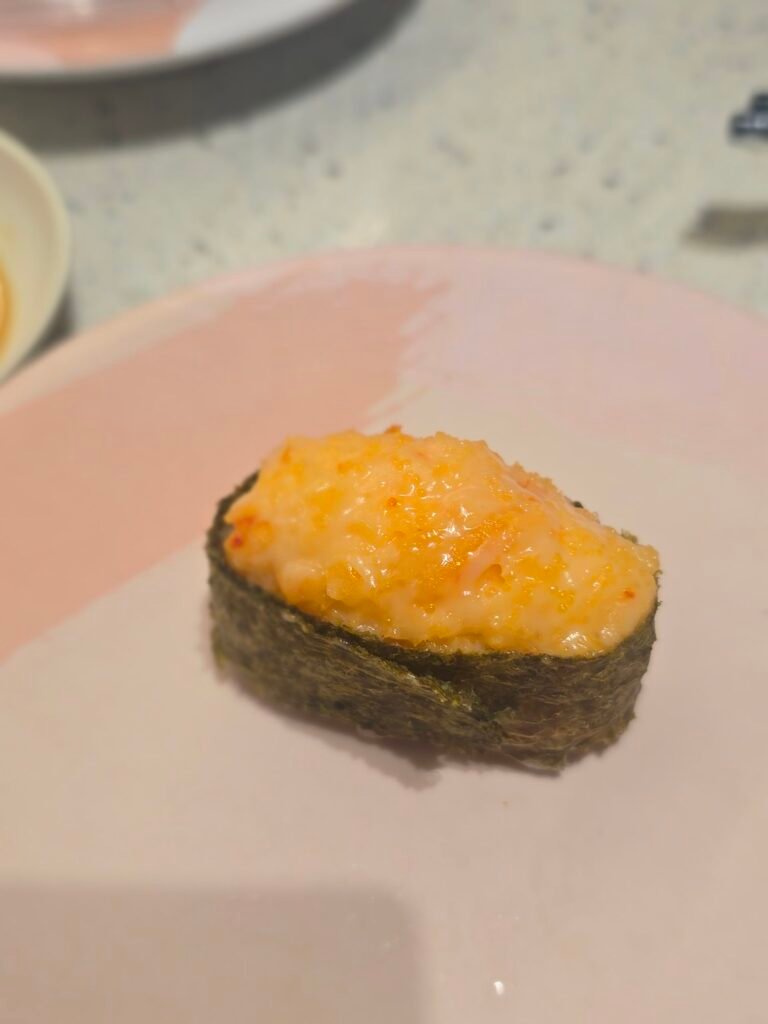
Well we ended up just getting lunch at Sushiexpress – revolving sushi place. It’s super cheap!
https://www.sushiexpress.com.tw/Epaper/1162
All the food we ate was less than 40 USD.
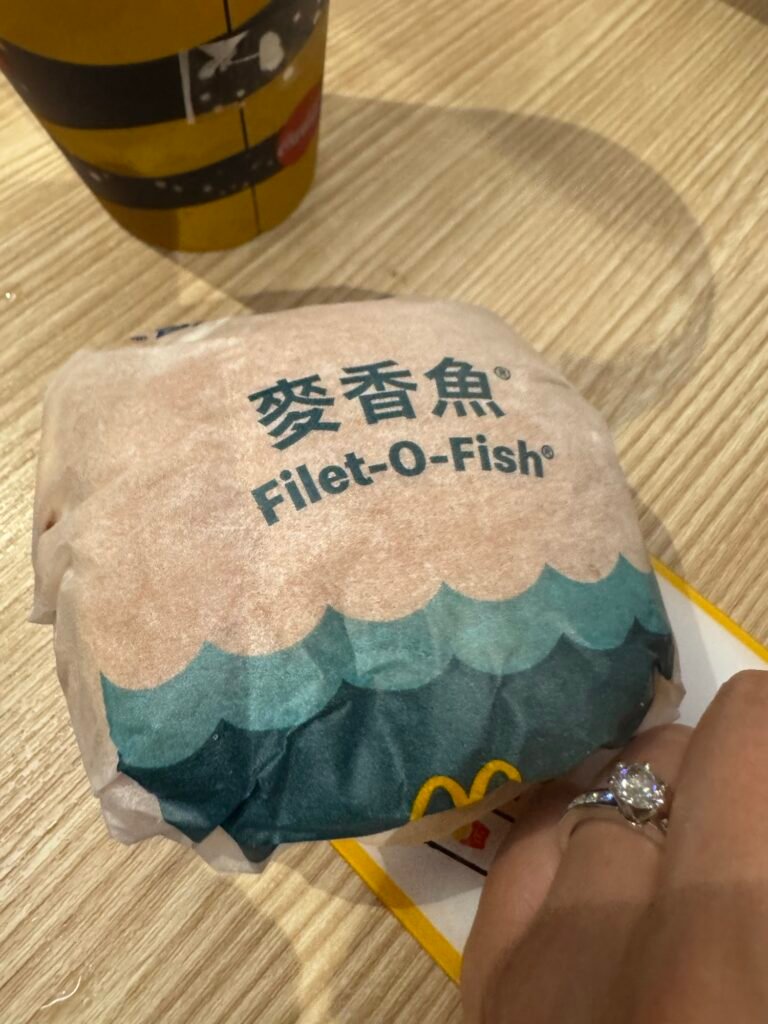
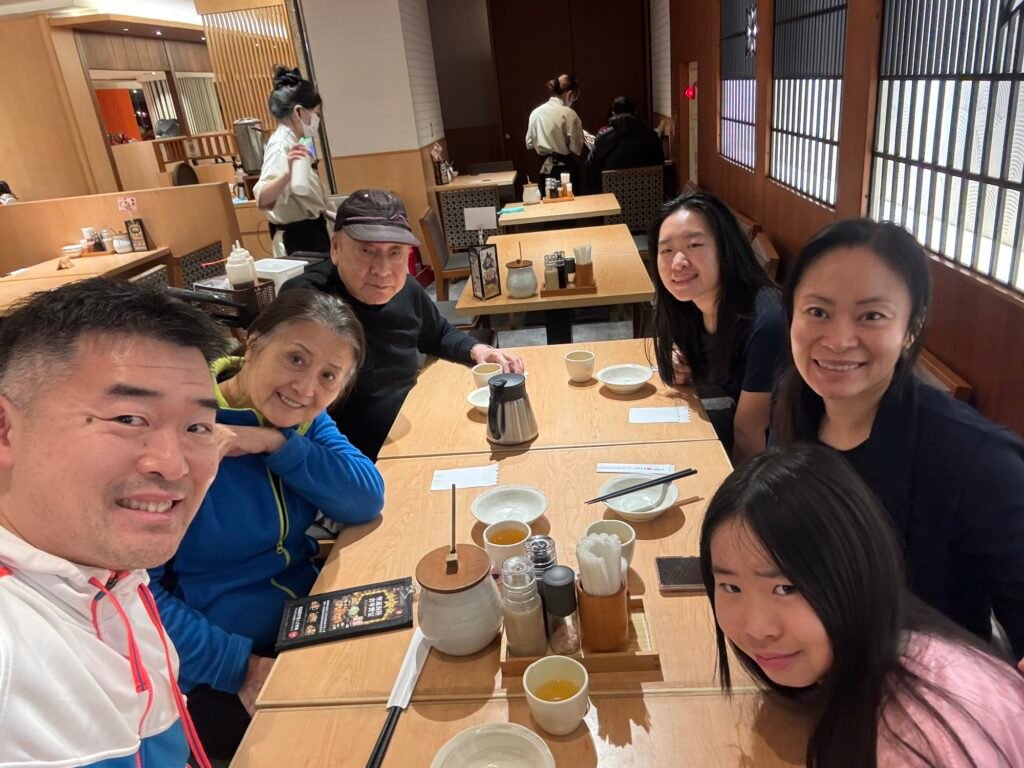
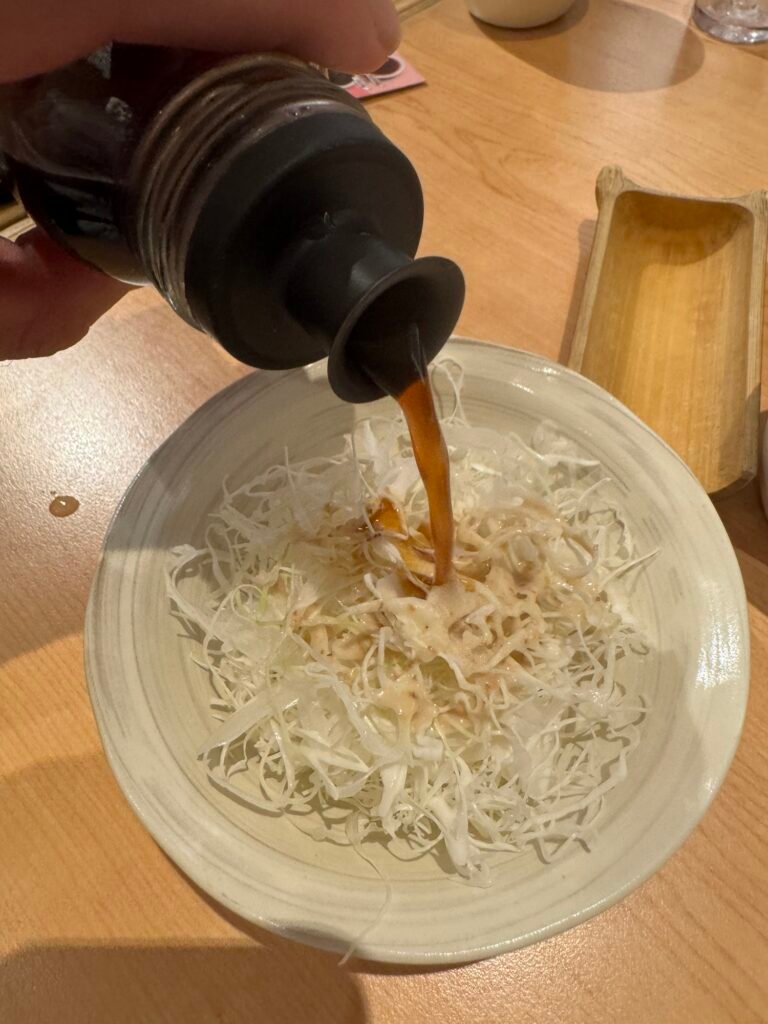
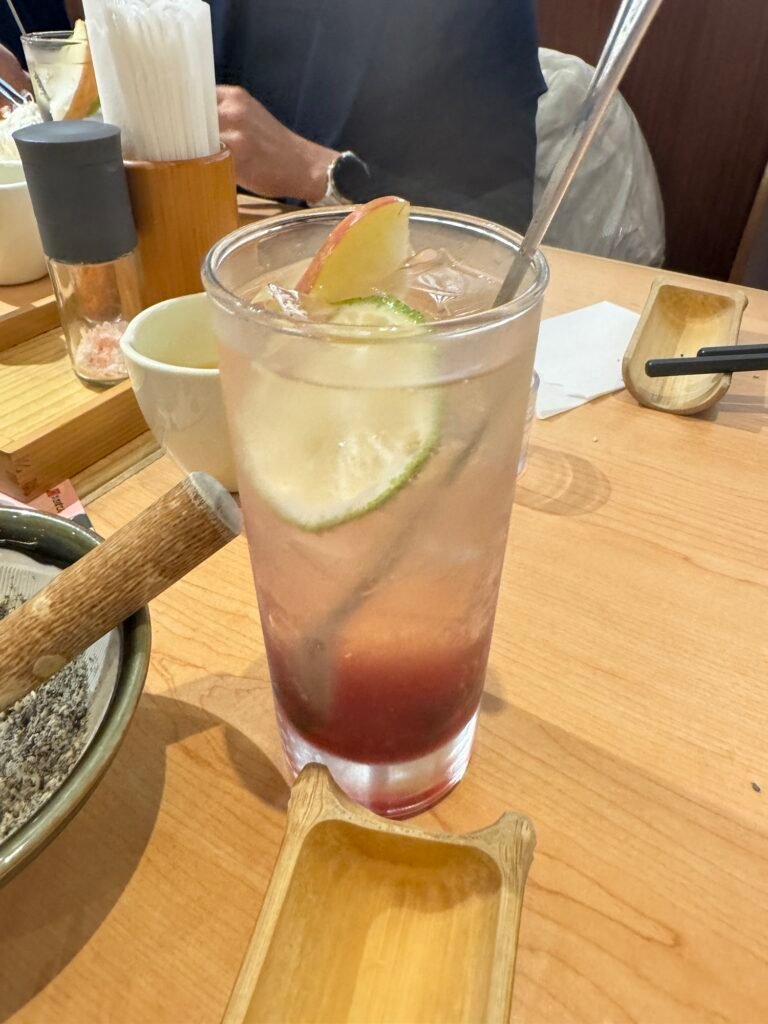
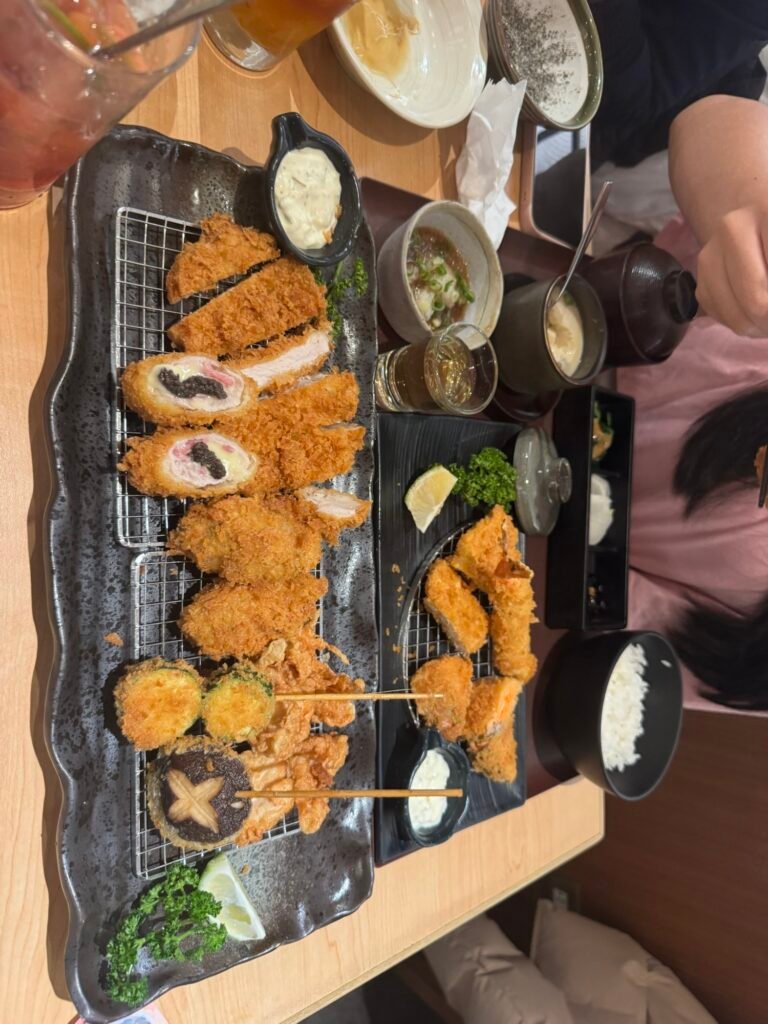
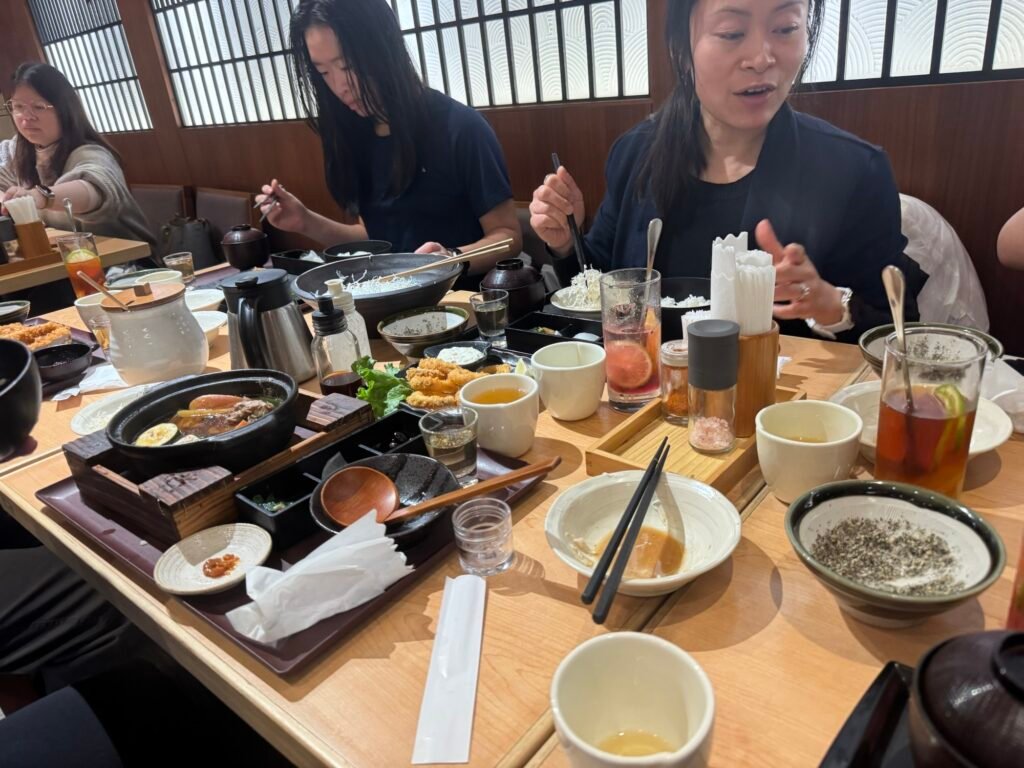
For dinner we went to this Japanese place by the Tamsui MRT main station.
Labubu hat. She didn’t want it
Very interesting experience. Food was good too. We had to grind our own seasoned seed to mix with the salad dressing. The salad was a shredded cabbage you find in sushi boxes.
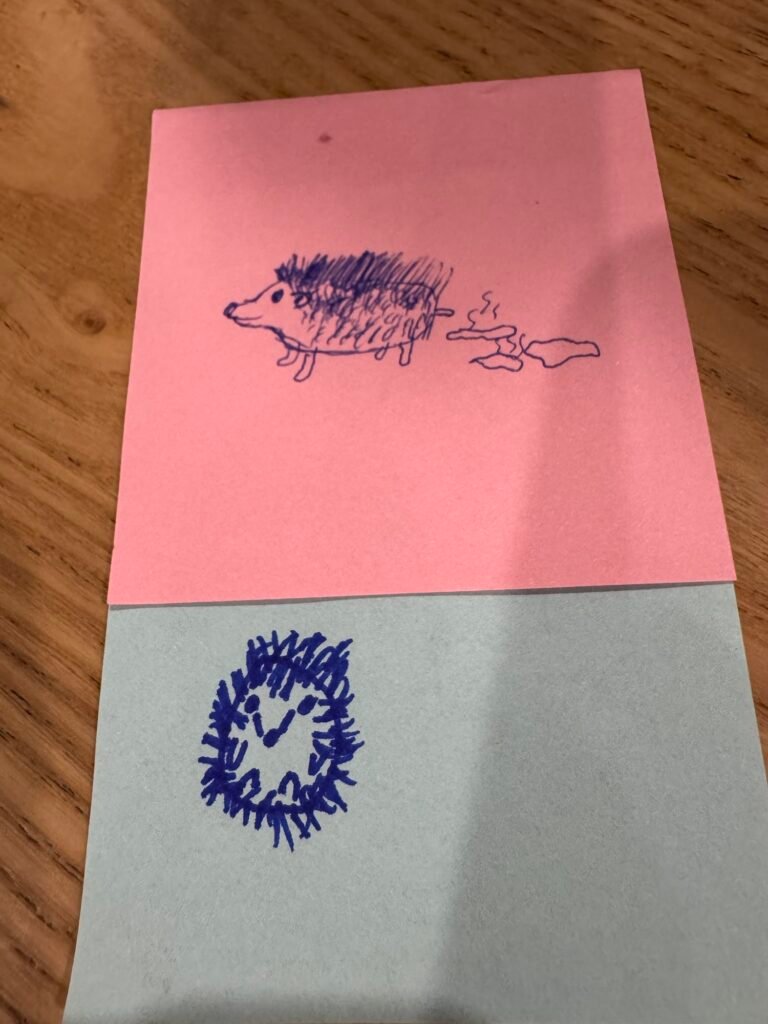
Warmup runSaw this on the way back and had to share it.
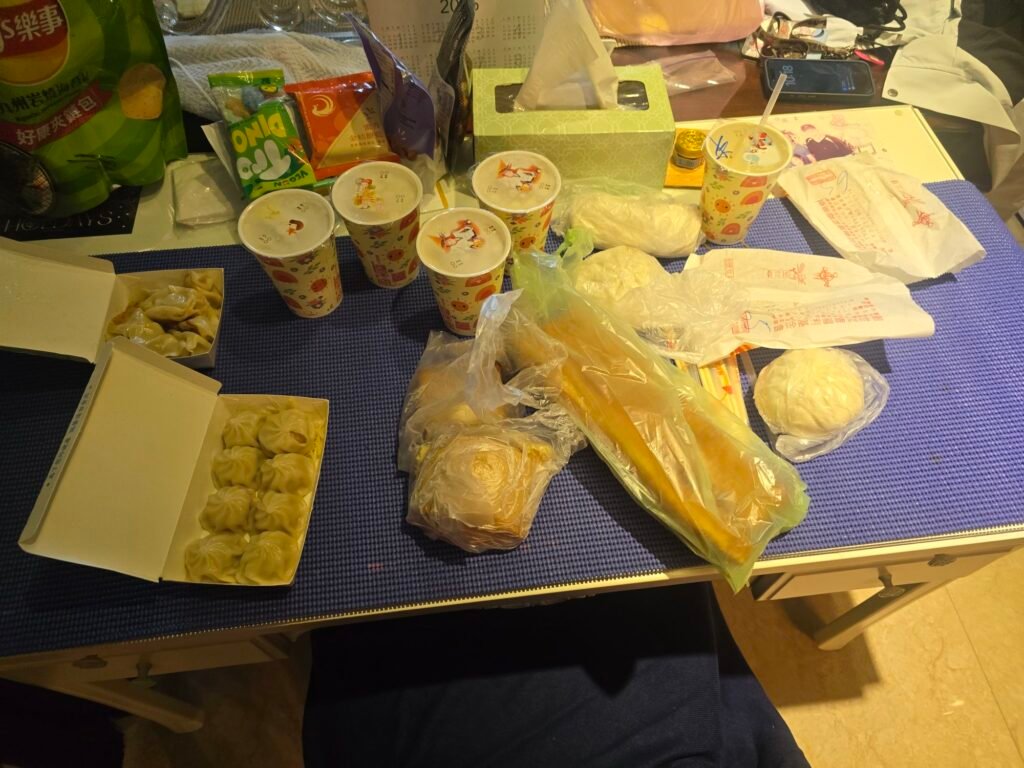
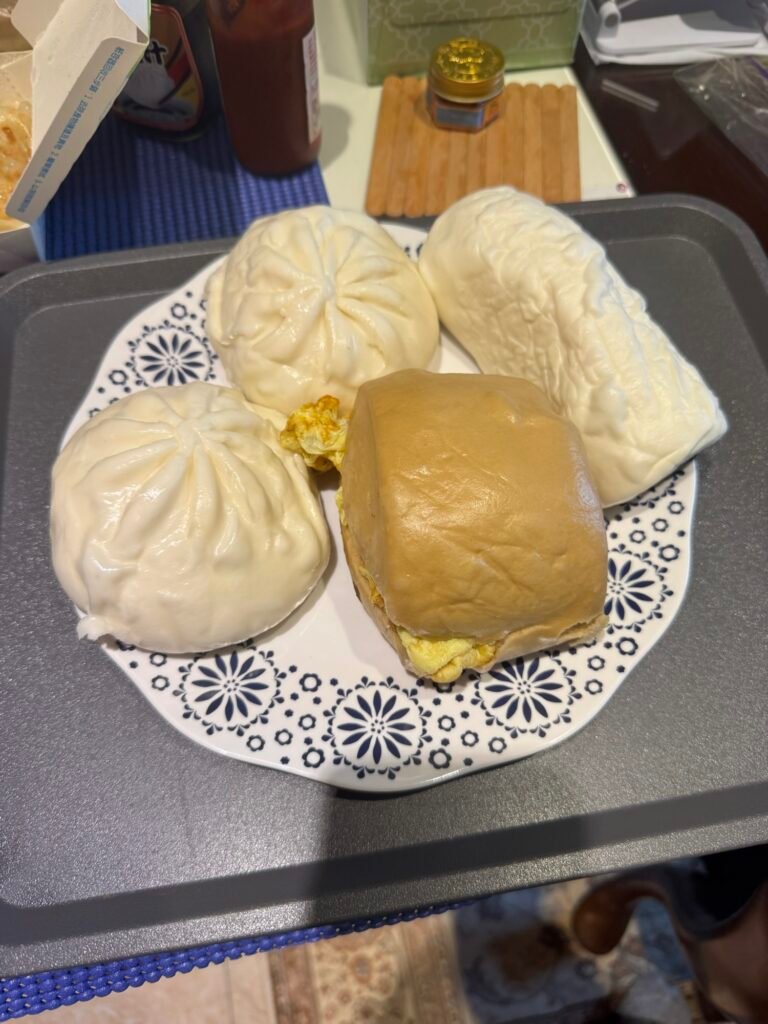
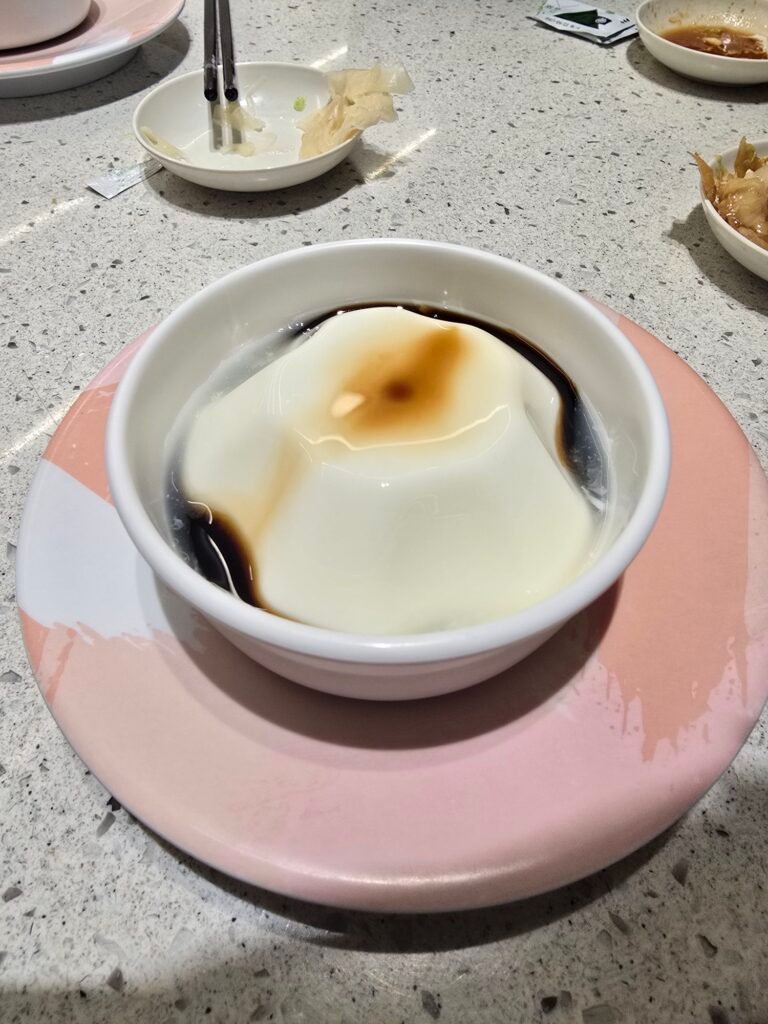
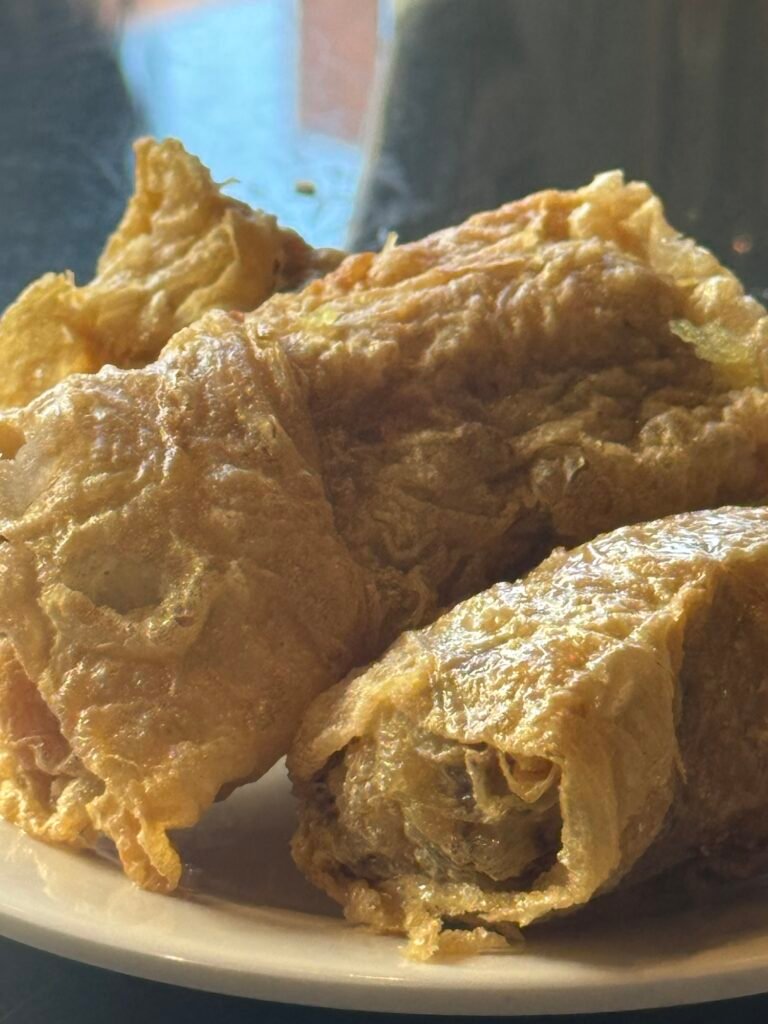
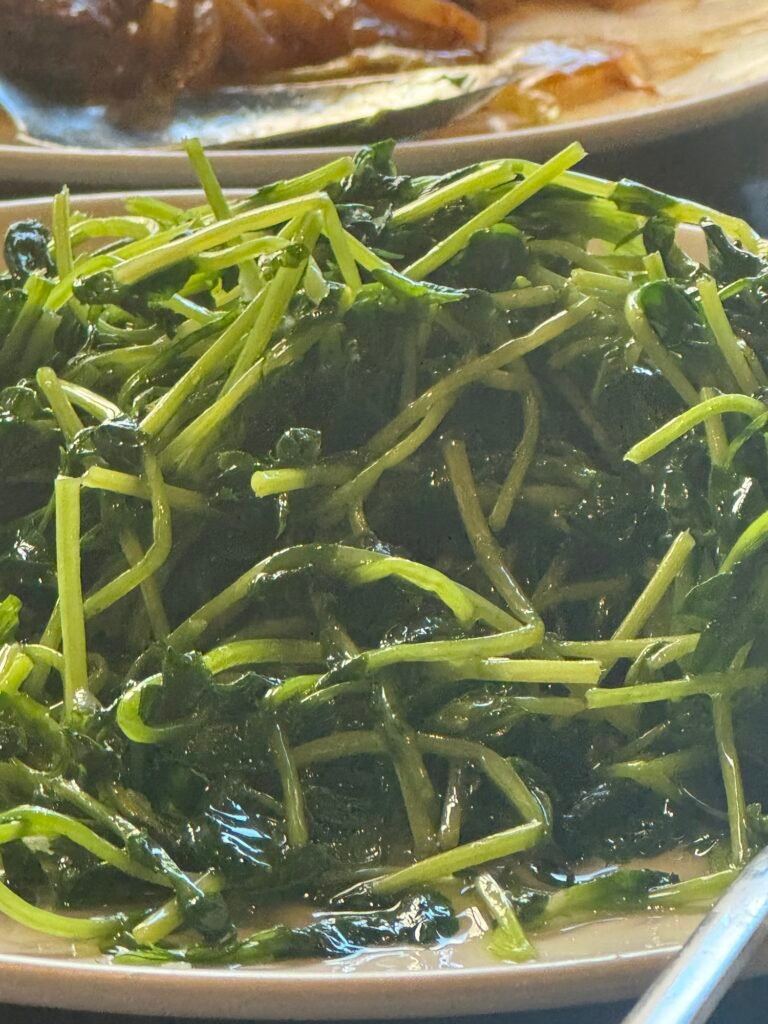
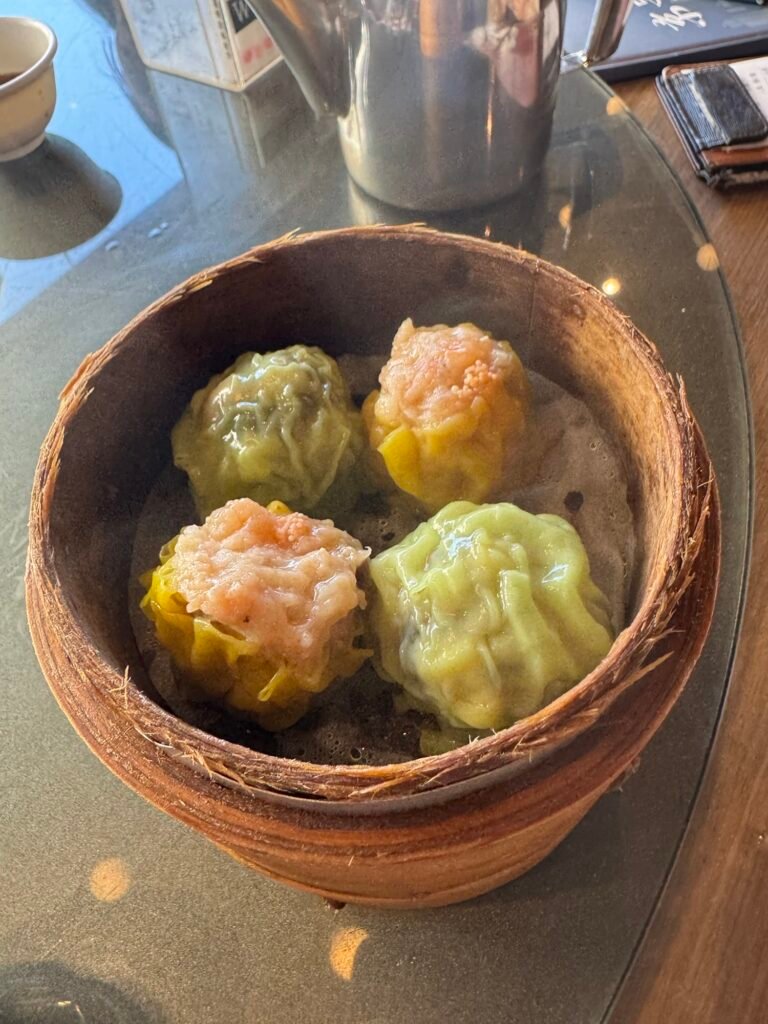
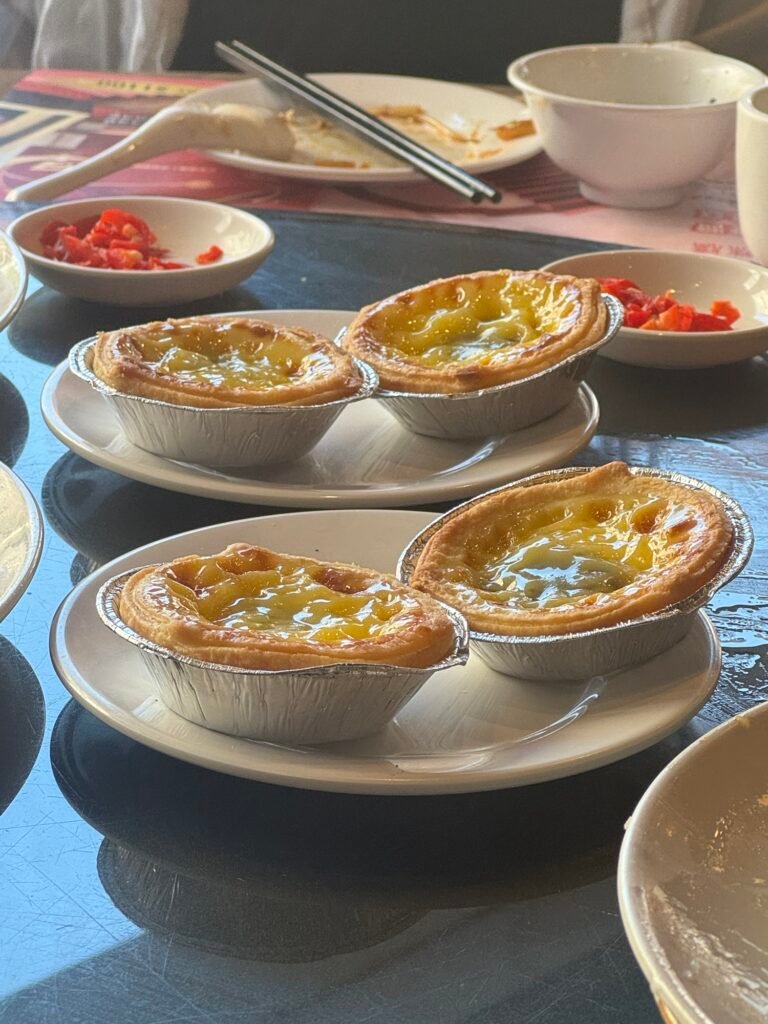
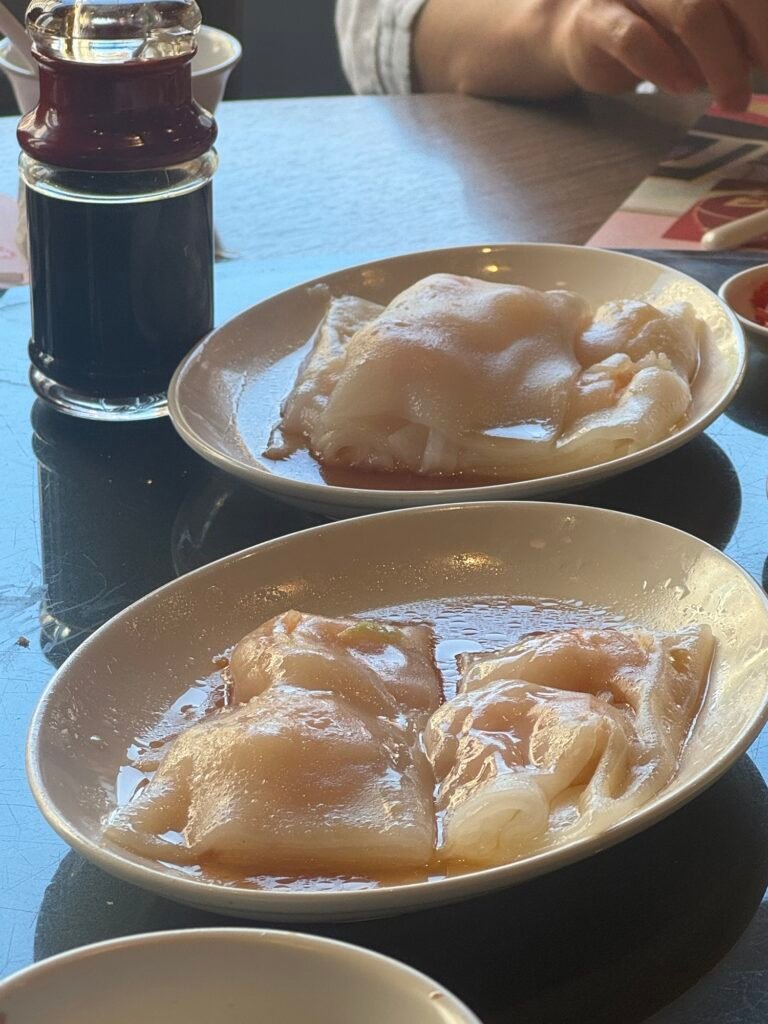
11am on way for Christmas Eve lunch /Dimsum. Though I love the public transportation in Taiwan, the fragrant odors you encounter can be intense. Luckily it’s not the dead of summer but the mix of BO and being crop dusted still sucks.
Ensuring the smells of public transport.Lunch @ Citystar 24 hr dimsum
https://maps.app.goo.gl/kh6q8RXS7kPYvwzP6?g_st=ic
Pretty good!
Next off to play some games at Cybercube. They call it an active tile/grid game. It’s really fun and much more physically demanding than I expected.
CYBERcube
CyberCube | Taiwan’s first immersive motion-sensing game | Pre-register on the official website https://share.google/skDZ4lF0a7vxBYfSV
They have multiple locations in Taiwan.
They apparently have similar games in the US. They actually have one at Polaris.
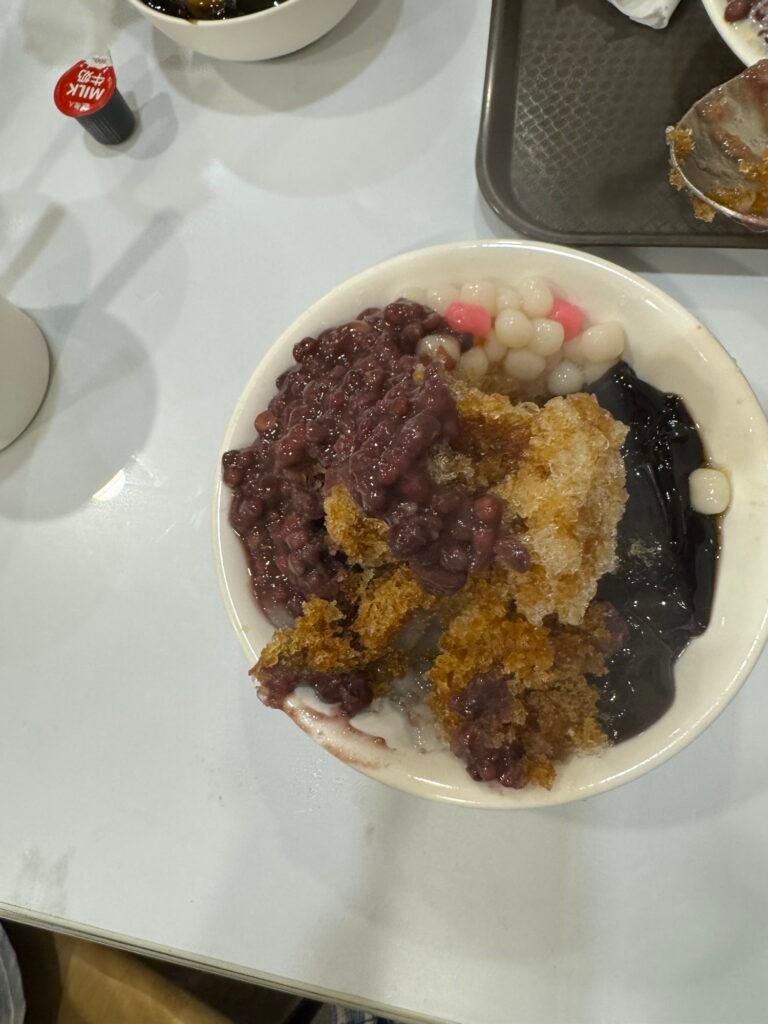
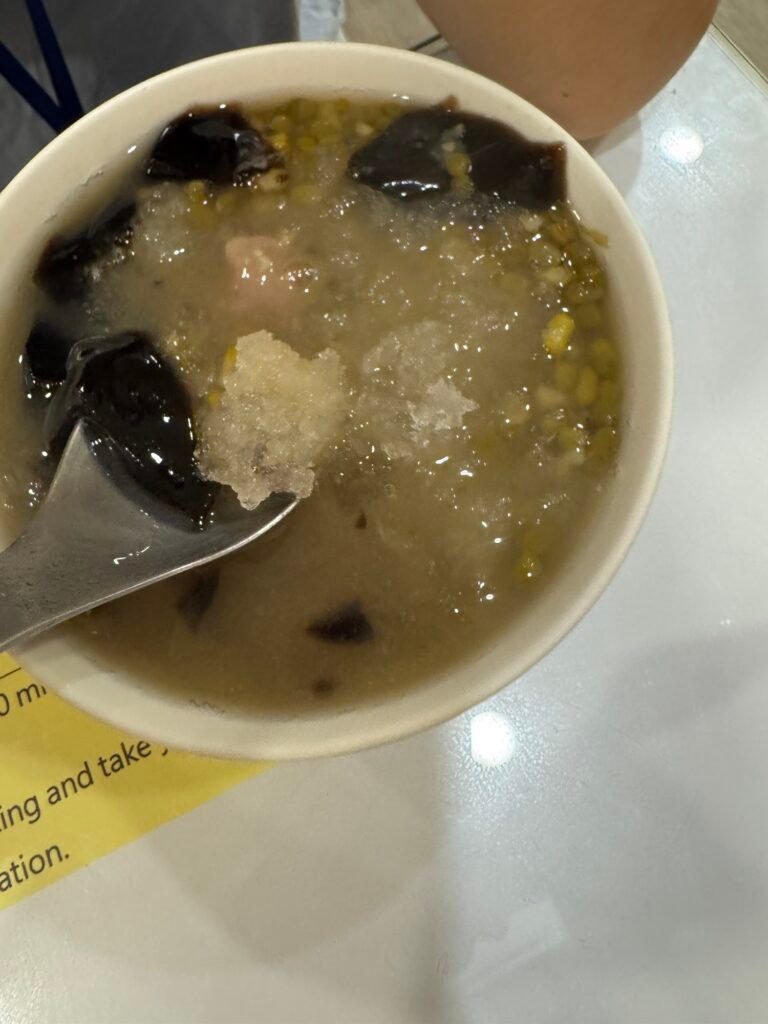
Random desert shop. I like the logoI guess mangoes are out of season:-(. I really wanted shaved ice with mangoes.
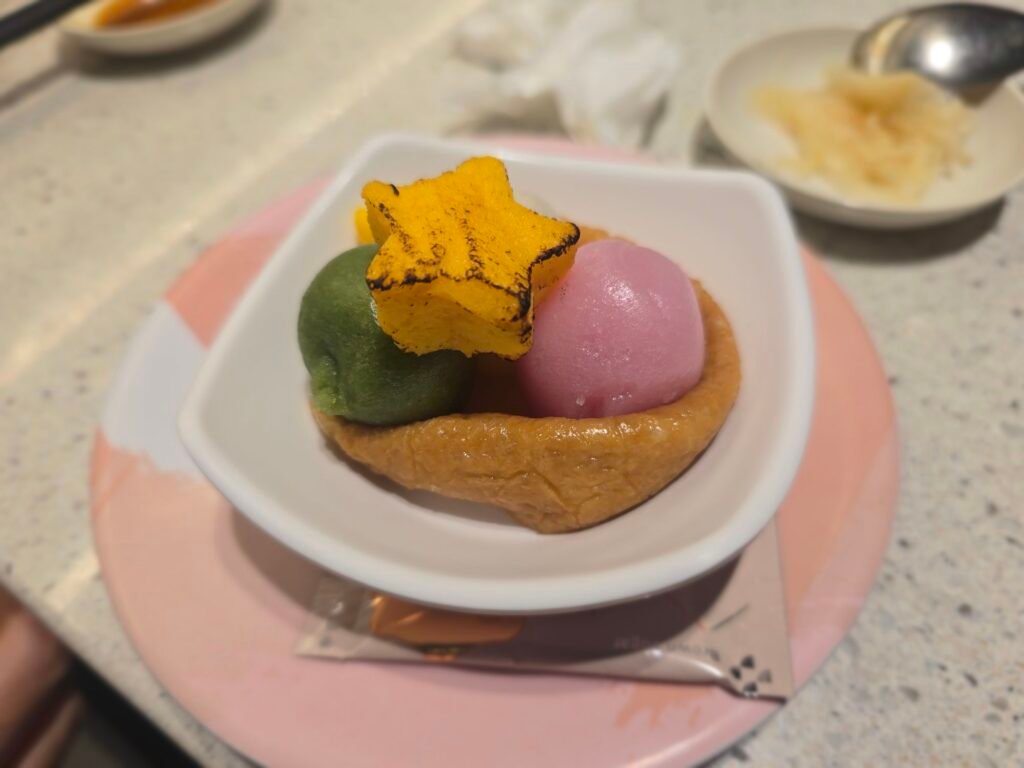
For christmas eve dinner, the family opted for Sezaria. Its a Italian resturaunt in Taiwan. Vivi and Juju loves this.
Opted to go to a different gym. A little rainy but not that cold. Who need those winter jackets?!
Warm up run to the gym
The best place to work out as a sports complex here. Unfortunately, the sports complex is currently closed for remodeling.
New Taipei Tamsui Civil Sports Center – under remodel as of 12/22/25
If you are in Tamsui temporarily, I highly suggest checking out Flow Fitness they charge by the minute (starting 1/1/26 it will be 1.5nt/min). You have to deposit a minimum of 500nt and is valid for 6 months.
They have 2 levels: 1st level has cardio equipment and a cable tower/machine. Second floor has 2 squat racks, smith machine, cable tower, barbells and some general machines.
Best thing is they open at 7am daily.
Flow Fitness – Second Level
Ok so it got really cold. The rain and wind made it kind of crappy. Though i brought a jacket to taiwan, i did not take it with me to the gym. Ended up breaking down and bought a winter jacket.
Yah it can get cold in Taiwan
1000 am – wandering around looking to get some official signature stamps
Signature stamps -hand made
2:00 pm getting my Health Exam in Taiwan
It’s a very surreal experience. Though my experience in the hospital from the patient perspective is limited, the process in the Taiwan Hospital (at least MakKay) was really streamlined. Not only that the costs here are ridiculously cheap.
MMR vaccine. Will let you know if I get autism. Safety net in the stairwells:?Do they do this anywhere else?
7pm out to Syntrend/Guanhua Digital Plaza. They have all the tech stuff here.
Eating a mango always seems to be messy business. They are very tasty, but they have a huge seed in the middle, and they are very juicy. I have tried mango pitters before, but if your mango is too ripe, it will just get squashed. Even if you do pit the seed out, you still have mango juice all over the place now.
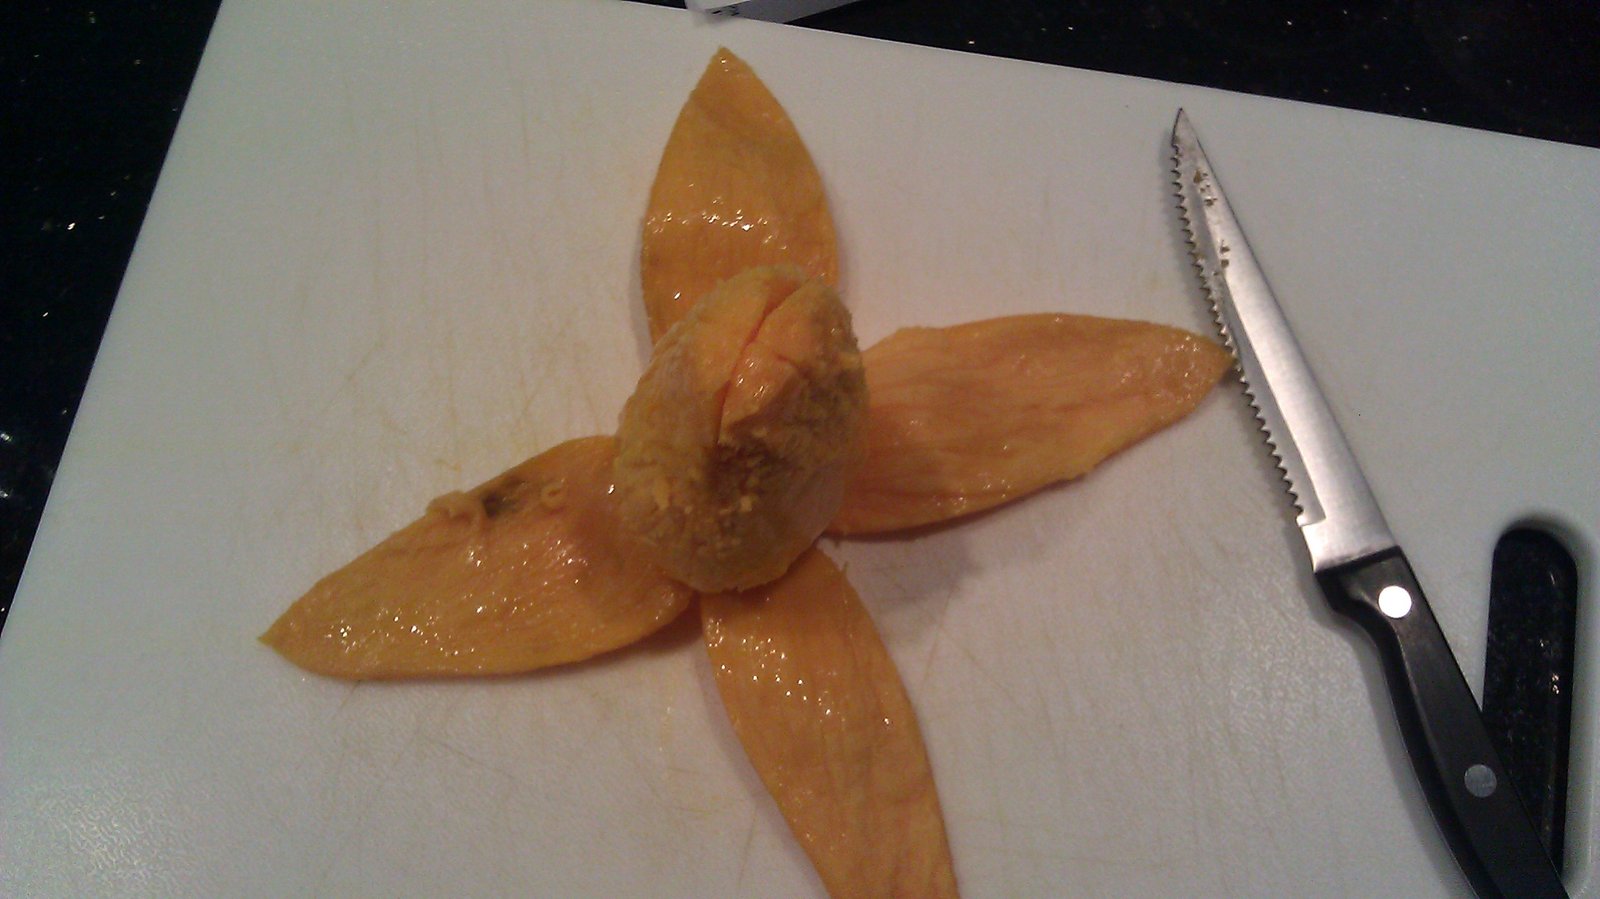
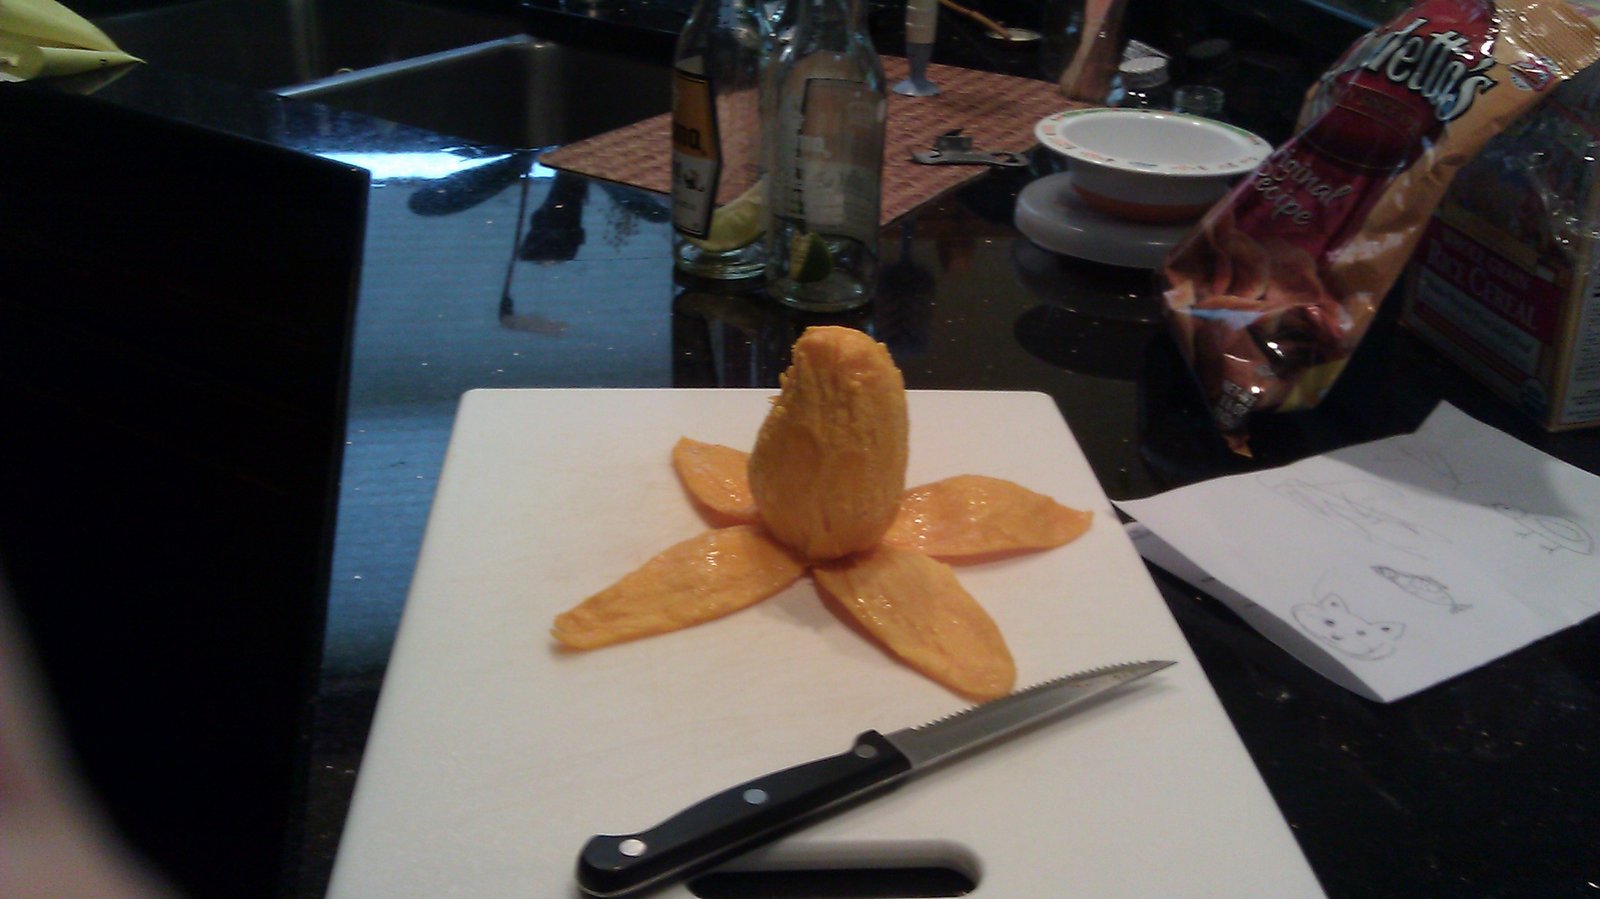
Growing up I would watch my mom cut mangoes. She would do what I refer to as the “flower technique,” or inversion technique.
Flower/Inversion Technique for eating Mangoes
She slices the Mango vertically, (lateral to each side of the seed). Then she will slice cross hatches in the mango. Then invert the mango, pushing on the skin of the mango. It makes eating the meat of the mango easier. [image to the left obtained via a google search which led me to http://soupbelly.com/]
*disclaimer, I have not tried this on the big mangoes, just the mini Mexican Atulfo Mangoes*
Somehow I never seen these mini mangoes before until I went to Beijing, China. Odd thing is once I came back from China, I noticed that we should the mini mangoes here in Ohio. Eitherway, I saw someone there eating what seemed to be an oddly shaped banana, but on closer examination, this lady was eating a mango. She had peeled the skin off like a banana. Interestingly it works well with these Mini Mangoes, and is better if the mango is ripe. So here is my take on peeling mangoes. The benefits are great: 1. you dont waste any of the mango, 2. it is less laborious to peel and eat a mango. Unfortunately it does not solve the problem of the mess after.
Step: 1. Cut the mango skin superficially at 90 deg angles all the way down. Makes it easier to peel (without the skin breaking off mid peel)
Step 2. Peel the mango gently.
Step 3. Eat the mango.
Obviously if you are out and about, and do not happen to carry knives with you, you can easily enough just peel the mango without cutting. This is just a tad messier, but better than not eating a mango at all.
Vivienne loves to mimic us and do things we are doing. It’s rather cute. We were at Sunflower Chinese Restaurant this past weekend eating some Dim Sum, and ViviBear really wanted to play with our chop sticks. Well I figured what the heck. I let her have mine, since she already threw hers on the ground. The first thing she did was stab some shrimp dumplings [Hsia Jiao] (i was never good with the phonetics) and proceeded to feed herself. She stopped, and gave me a sly look and offered to me. Not a bad try. Heck I still stab food with my chopsticks too. Actually, I apparently do not even use chopsticks properly. When I spent a month in China a 4 years ago, the servers or owners at the local restaurants/food carts would love to point out to me how I use chopsticks really weird and like a child. Well whatever. Back to the point. I wonder if it is too early to start training Vivienne how to use chopsticks. Well, it’s kind of like me teaching her Chinese I suppose, or a penguin teaching a pomeranian how to fly. Well I at least can kind use chopsticks to move food from point A to point B, no matter how improper my technique.
“Vivi trying to use chopsticks”
On one of her attempts she actually grabbed some sticky rice with the chopsticks, but I unfortunately did not record that part. I dont really remember when I learned how to use chopsticks. maybe it’s innate in all Asian people (hah). I still find it amazing to watch ViviBear grow up, and start doing new things. I fear the day when she starts doing things I dont want her to. shudder.
On a similar note, it’s funny to hear some people’s reaction to things like potty training. Vivienne has been using the baby toilet since about… 6 months? maybe earlier. I dont remember. There is a picture somewhere with a censored ViviPoo After re-reading that post, I think she was around 6-7 months when she first started.
I figure, if we can train our offspring to do things early as possible, why not? I mean I do not forsee any sort of “traumatic experience” as long as we are not berating and yelling at them. I figure if I see her doing something, we can give her positive reinforcement such as fetching slippers:
I mean she started washing windows on her own (after watching Nai Nai do it) as soon as she could cruise:
Eating lunch at Oodles off of Main Street by the adolescent medicine clinic. Ordered the special of the day:sezchuan eggplant.
For $7.39 you get the main dish, a side (I chose sweet amd sour soup), and a drink. Overall if you like eggplant, you’ll like this.
Got a side of hot and sour as well. I must say this is pretty good. Too nad I likely wont come down town just to eat this, then again it, may worthwhile. Oodles is located next to indian oven.
The home made uncrustable. Why pay $4 a box (about 1$ a sandwich) when you can just make it yourself. Reality is: it tastes the same, and you can do so much more. I personally like whole wheat, and avoid white bread when possible. You gotta have the fiber!
CutNSeal
Dont want colon cancer one day (or hemorrhoids or constipation for that matter). Eitherway; I scoured the internet for a while looking for other “sandwich sealing” and “decrusting” devices. I came across one device from the Pampered Chef. From my earlier post I linked to a page the showed you how to make your own uncrustable as well [http://jonandlaura.blogspot.com/2009/04/im-in-love-with-cut-n-seal.html]
I really didnt want to fork over $10.00 (not including shipping) for this contraption. Let alone my biggest issue with this device… IT WASTES SO MUCH BREAD! Being circular… and most bread loafs are… well not.
Pan Pita: Sandwich Press and Seal and Decruster
I wanted something that was lest wasteful. With a lengthy google search I finally came across this one from Japan. I purchased it on amazon.com for about $3 and some, with free shipping. I actually later found it at my local Japanese Grocery Store to be about a dollar less, but after you add tax, meh. evens out.
Wonderbread made one too, but I didnt like the way it looked. I tried to find one that would make a shape of a penguin, but didnt really find anything.
Looking at the back of the package, there were some instructions in Japanese with pictures. You dont really need instructions to figure out how to stick some bread inbetween this device and press, but the pictures did give me some great ideas about making some ham and egg sandwiches (like you find at the Asian bakeries- at least the ones in Asia). For the purpose of this post, I am just going to stick with PB&J.
Instructions
That said, I will do my step by step instruction for making my own uncrustables.
Pan Pita - decrusting and sealing device
1. open it up
2. Get the bread/PB/J
3. Stick the PB&J in the center and the loaf centered on the device
Here I like to get a little wild (though it is now demonstrated in the photo) and get the PB and J all the way to the edge. I figure that once I cut the crust off, I dont want to waste it, so I am going to eat it anyway. Might as well have some PB&J on it already.
4. Stick the other side of the bread on top
5. Place the top part on and PRESS!
6. Peel crust off
7. Take top off (the device not yours)
8. Voila - Done
9. Place in sandwich bag and freeze.
Yummmmmmmmmmm
What I did the first day I tried it was I used a whole loaf of whole wheat bread. Made some uncrustables, placed them in a baggies and threw them in the freezer. For one thing, this will keep my bread from going stale. I usually eat a whole bunch, then forget about the bread. Then the bread goes bad.
At least this way it will be preserved better. Just like the Smukers Uncrustabels, when you want to eat it, take it out of the freezer, let it sit for about 30-4o min. Then voila. Chomp down as one would on the left. I figure when ViviBear goes to school in about 5 years from now, I can have her take PB&J with her. I wont have to wake up extra early just to make her lunch. What a great money saving time saving idea!!! I also figured each time I make the sandwiches from a whole loaf, I’d be able to just eat the crust as my lunch or what not. I’d hate to waste all that crust. I never understood why people hated the crust so much. I actually like the crust.
So with my stash of PB&J without crust sandwiches, I had some snacks premade for the next few days. I noticed each time I checked them out, my stash was slowly disappearing. Turned out MommyMD was taking them to work to eat. Well someone is eating it.
Overall review of the Pan Pita: Cheap. Easy to clean. easy to use. Some bread (if smashed a bit) will not fit perfectly, and you may have some residual crust. I’d rather have that than waste too much bread as you would with the Pampered Chef CutNSeal. Buy one if you want to be lazy like me and premake the PB&J. When I showed this to my mother her response was: why are you so lazy? Just make the sandwich when you want it. meh…
My buddy Tejal introduced me to this amazing invention. Apparently it has been around “for a long time” yet I have never seen or come across it before. I was sitting in the dining room and I saw Tejal with this apple pie/dumpling looking snack. It appeared very tasty. When she told me what it was I was in awe, yet dumbfounded. Why would anyone buy this? It is probably much more expensive than getting two slices of bread, some jelly and peanut butter. If you really hate the crust just cut it off. It just looked so good I decided to go pick up one up in the cafeteria as well (after eating lunch already).
First impressions: just two pieces of bread with PB&J crimped along the edges. Yumm! Well no less yum than a PB&J sandwich, but YUM nonetheless.
PROS: with the ends crimped, you dont really have to worry about the jelly falling out on one end. It’s premade and comes frozen. You let it thaw at room temp for 30 min and then eat it up to 8 hrs (according to the box). If you hate crust… voila no crust. Easy for the lazy or kitchen challenged parent to grab one, throw it in a lunch box, and send the kiddies on their way to school.
CONS: cost! about 3$ for a box of four. I dont think it comes in whole wheat.
Overall: cool idea, and I wonder if they sell crimpers to make these things at home in case Vivi hates crust, and I want to premake PB&J weeks in advance.
Suffice it to say, on my milk run tonight I opted to buy a box or two and share with MommyMD.
Thanks Tejal for introducing me to such a cool treat.
here’s a little diddy I found from a google search on making your own:
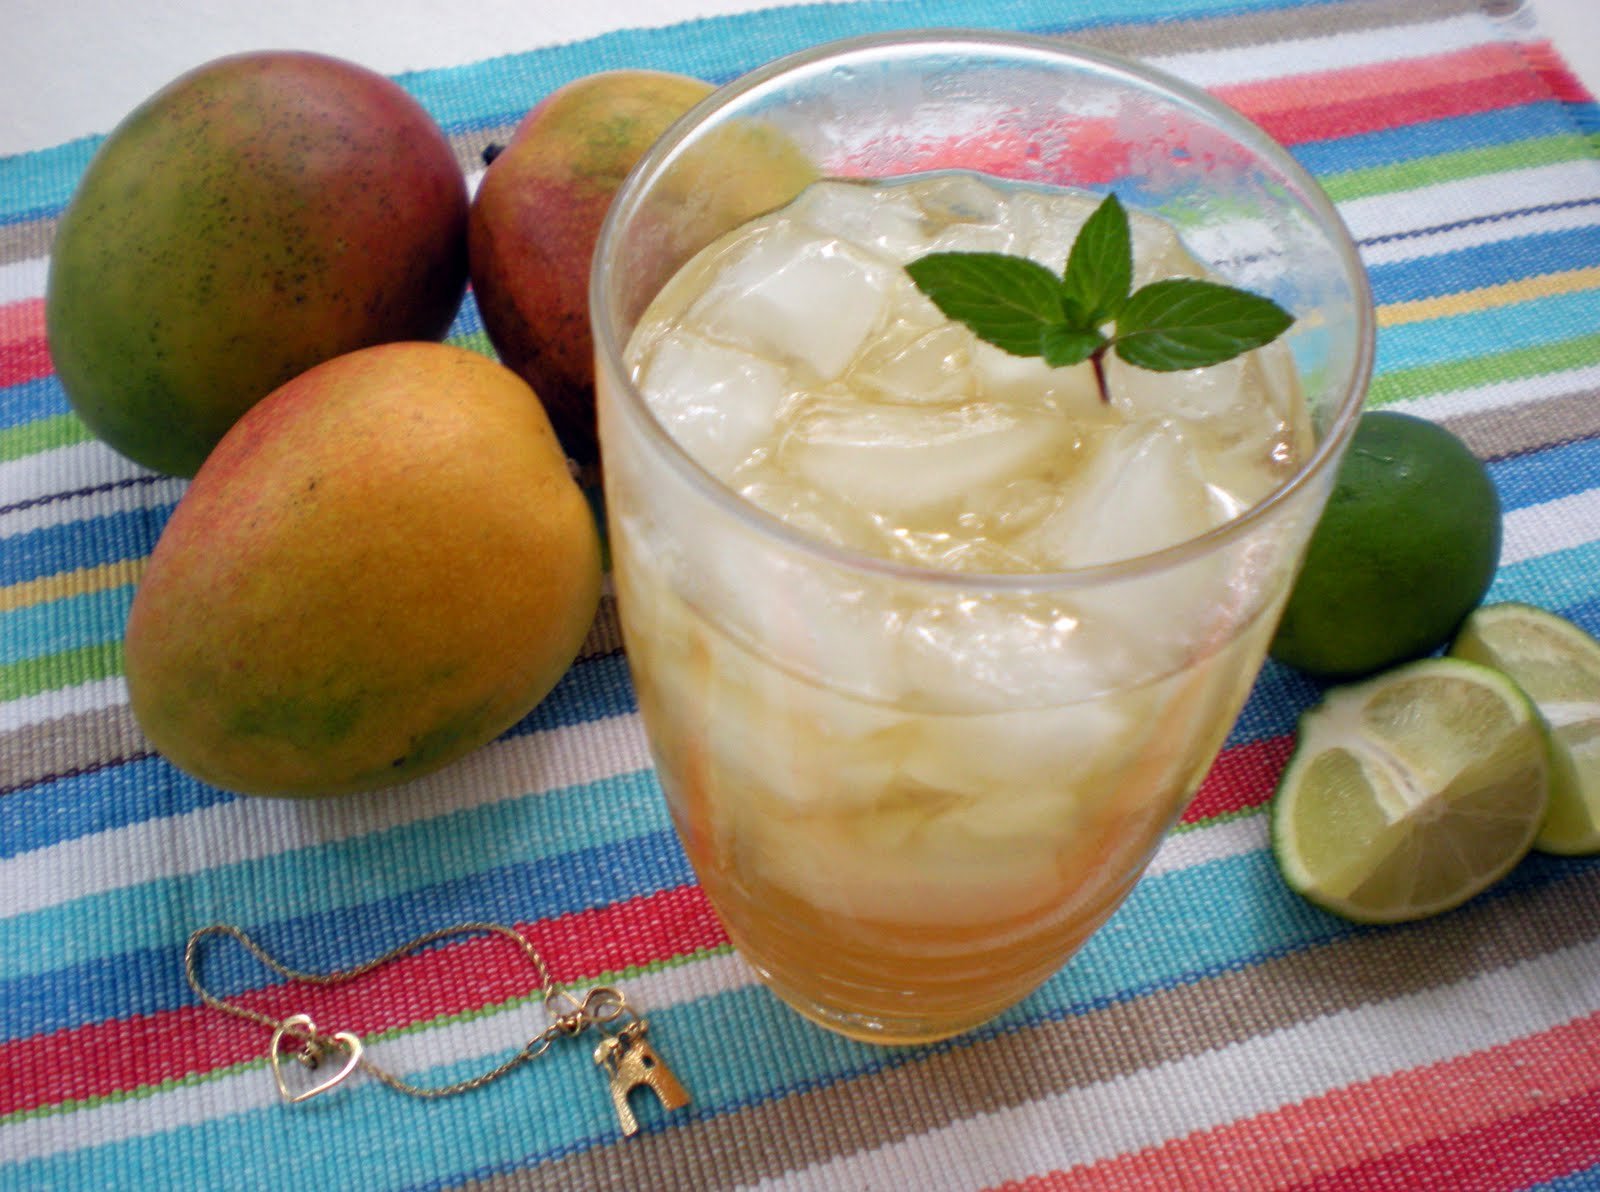
I love mangoes, and what’s better than a Mango Mojito?
You will need:
Mango Rum – I personally like the Malibu for some reason, but it depends on your pref.
Diet Sprite – I like to use diet sprite instead of the tonic water
Mint Leaves
Lime
Mix 50/50 Diet Sprite with the Mango rum, throw in a mint leaf and then throw in a slice of Lime. Voila. Mango Mojito. You can obviously change the ratio of Rum to Sprite. Eitherway it’s tastey.
Cookie Consent
We use cookies to improve your experience on our site. By using our site, you consent to cookies.
Contains information related to marketing campaigns of the user. These are shared with Google AdWords / Google Ads when the Google Ads and Google Analytics accounts are linked together.
90 days
__utma
ID used to identify users and sessions
2 years after last activity
__utmt
Used to monitor number of Google Analytics server requests
10 minutes
__utmb
Used to distinguish new sessions and visits. This cookie is set when the GA.js javascript library is loaded and there is no existing __utmb cookie. The cookie is updated every time data is sent to the Google Analytics server.
30 minutes after last activity
__utmc
Used only with old Urchin versions of Google Analytics and not with GA.js. Was used to distinguish between new sessions and visits at the end of a session.
End of session (browser)
__utmz
Contains information about the traffic source or campaign that directed user to the website. The cookie is set when the GA.js javascript is loaded and updated when data is sent to the Google Anaytics server
6 months after last activity
__utmv
Contains custom information set by the web developer via the _setCustomVar method in Google Analytics. This cookie is updated every time new data is sent to the Google Analytics server.
2 years after last activity
__utmx
Used to determine whether a user is included in an A / B or Multivariate test.
18 months
_ga
ID used to identify users
2 years
_gali
Used by Google Analytics to determine which links on a page are being clicked
30 seconds
_ga_
ID used to identify users
2 years
_gid
ID used to identify users for 24 hours after last activity
24 hours
_gat
Used to monitor number of Google Analytics server requests when using Google Tag Manager
1 minute
SourceBuster is used by WooCommerce for order attribution based on user source.
Name
Description
Duration
sbjs_first
Traffic origin information for the visitor’s first visit to your store (only applicable if the visitor returns before the session expires)
session
sbjs_current
Traffic origin information for the visitor’s current visit to your store
session
sbjs_first_add
Timestamp, referring URL, and entry page for your visitor’s first visit to your store (only applicable if the visitor returns before the session expires)
session
sbjs_current_add
Timestamp, referring URL, and entry page for your visitor’s current visit to your store
session
sbjs_migrations
Technical data to help with migrations between different versions of the tracking feature
session
sbjs_session
The number of page views in this session and the current page path
30 minutes
sbjs_udata
Information about the visitor’s user agent, such as IP, the browser, and the device type